> ## Documentation Index
> Fetch the complete documentation index at: https://docs.shipmobilefast.com/llms.txt
> Use this file to discover all available pages before exploring further.
# Overview
> Overview of in-app purchases
 We are using [RevenueCat](https://www.revenuecat.com/) to handle in-app purchases.
* Relevant Links: [RevenueCat Docs](https://www.revenuecat.com/docs)
First, you need an Apple Developer & Google Play Developer Account to setup in-app purchases.
## Setup
First, go to [RevenueCat](https://www.revenuecat.com/) and create a account.
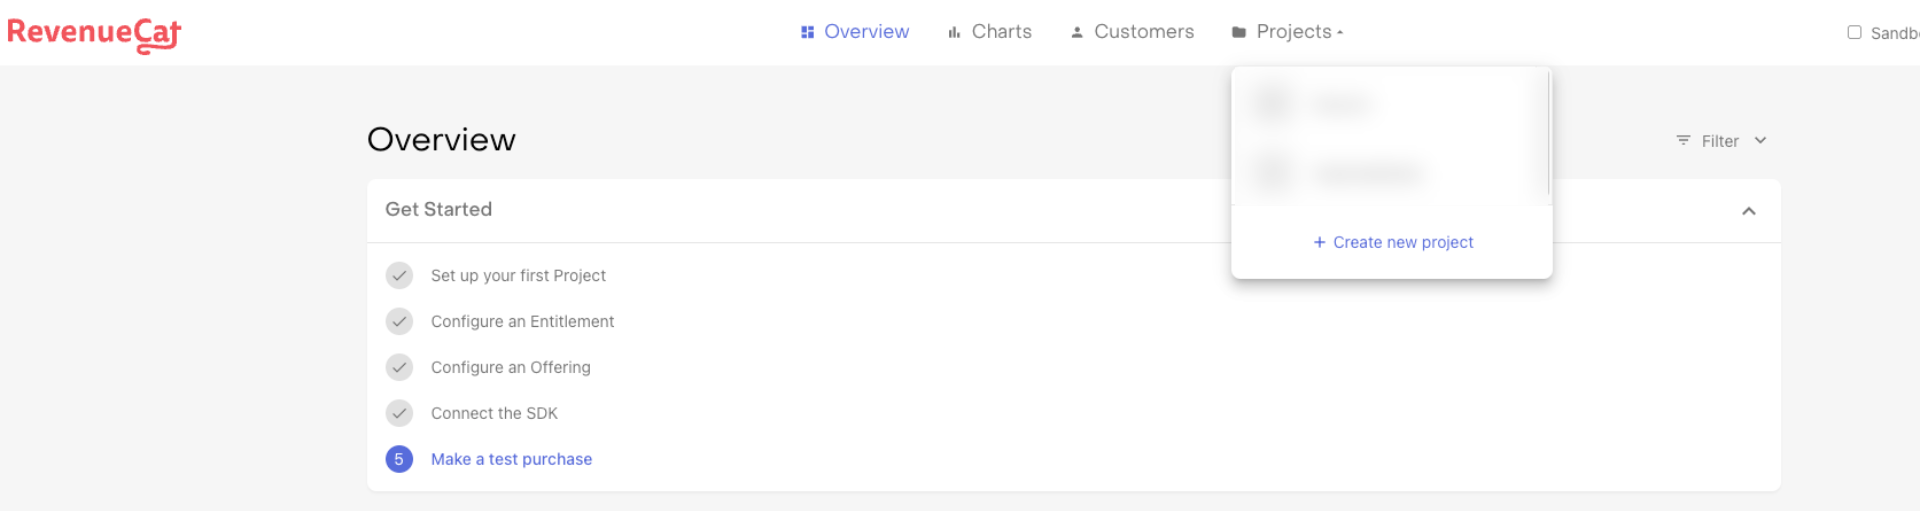
After you create your account, click on the `Create Project` button.
We are using [RevenueCat](https://www.revenuecat.com/) to handle in-app purchases.
* Relevant Links: [RevenueCat Docs](https://www.revenuecat.com/docs)
First, you need an Apple Developer & Google Play Developer Account to setup in-app purchases.
## Setup
First, go to [RevenueCat](https://www.revenuecat.com/) and create a account.
After you create your account, click on the `Create Project` button.
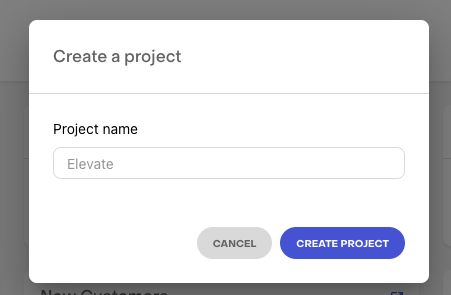
 After creating your project, you need to define your project name.
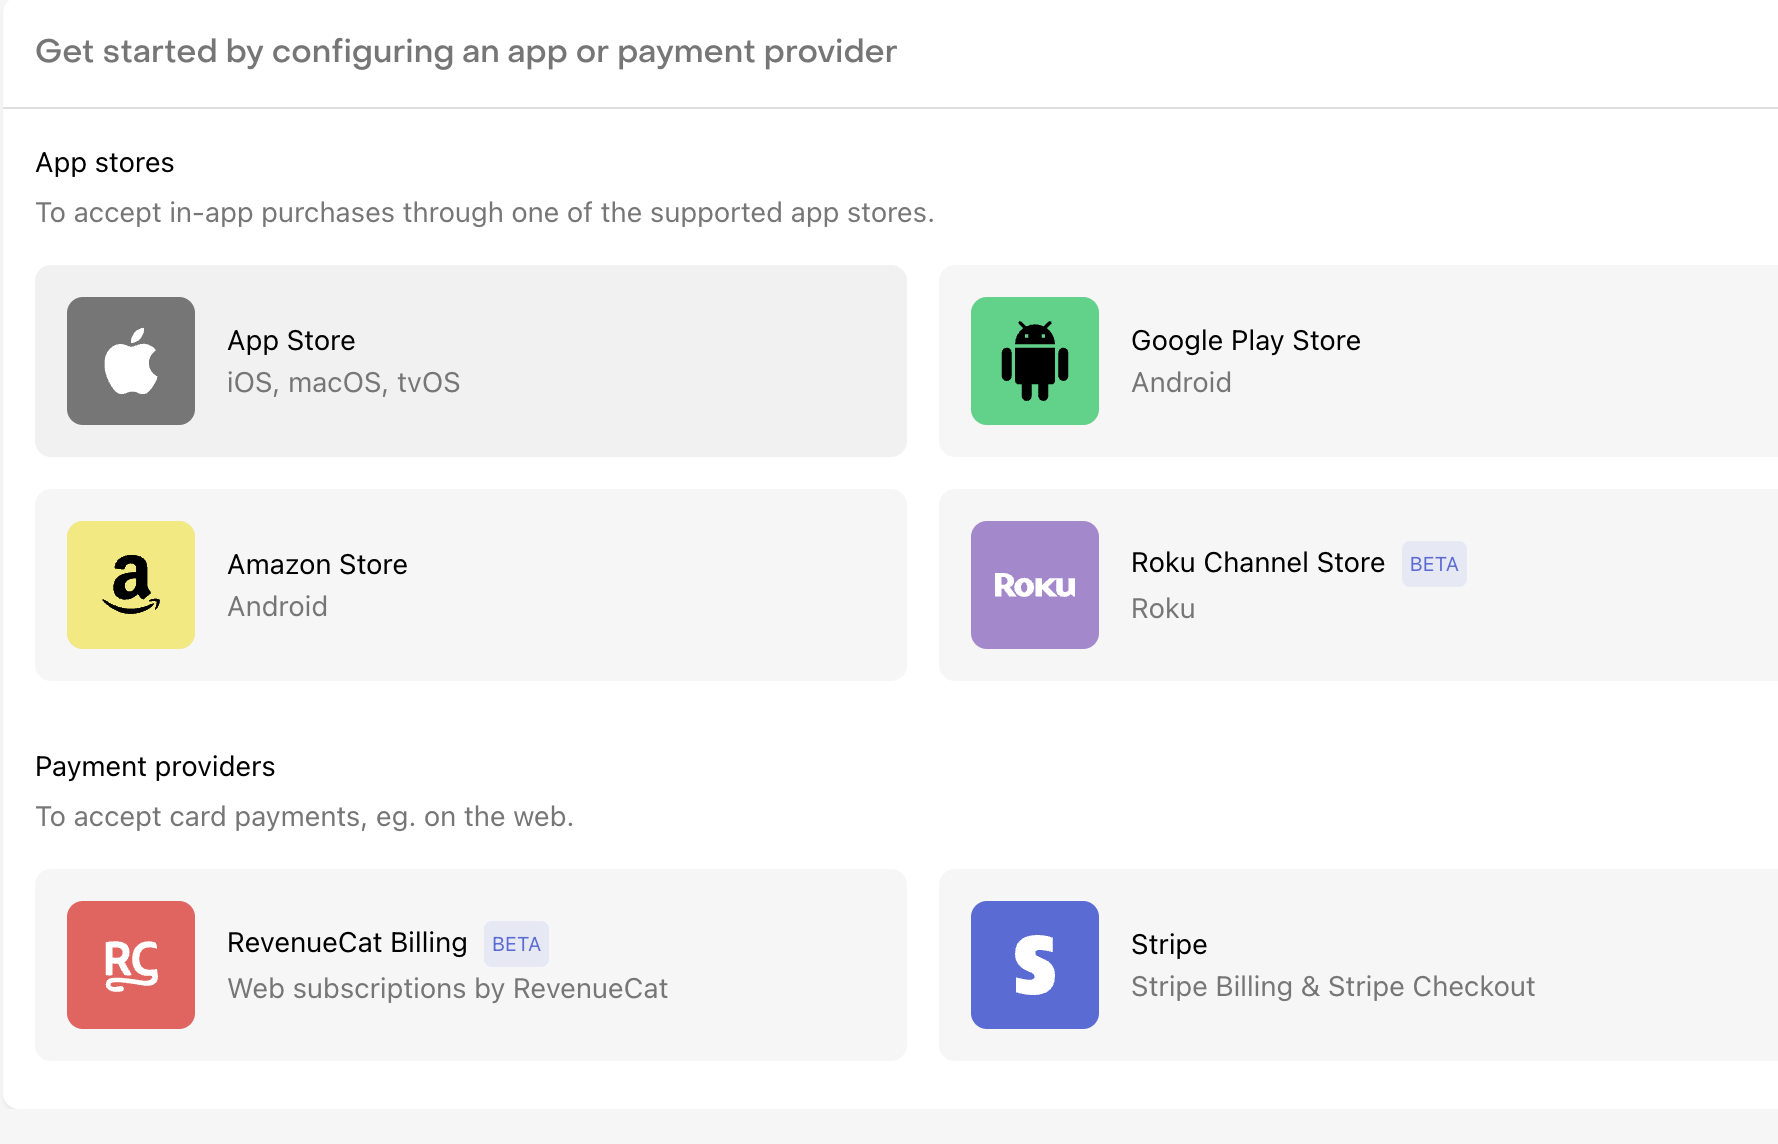
 Then, we are continuing with the tabs for platform-specific setup.
 After completing two platform-specific setup, open your `app/_layout.tsx` file.
* Add the `RevenueCatProvider` component.
```tsx theme={null}
import {
RevenueCatProvider,
useRevenueCat,
} from '@/context/RevenueCatProvider';
```
Find the `useEffect` hook in the `App` component.
```tsx theme={null}
//* If you want to use RevenueCat, uncomment the following lines 👇
const { initializeRevenueCat } = useRevenueCat();
useEffect(() => {
....
getUserTrackingPermission();
// Uncomment the following line 👇
initializeRevenueCat();
}, []);
```
Wrap the `RootLayout` component with the `RevenueCatProvider` component.
```tsx {5,7} theme={null}
const RootLayout = () => {
return (
{/* ... */}
);
};
```
Now you can use the `useRevenueCat` hook to get the RevenueCat instance.
You need to configure your subscriptions on Google Play Console and App Store Connect.
I could have added this step too, but this is too specific for your project.
* I am giving you the links to the docs for Google Play Console and App Store Connect.
* [Google Play Console](https://www.revenuecat.com/docs/getting-started/entitlements/android-products)
* [App Store Connect](https://www.revenuecat.com/docs/getting-started/entitlements/ios-products)
Then we are ready to some sellings 🎉
After completing two platform-specific setup, open your `app/_layout.tsx` file.
* Add the `RevenueCatProvider` component.
```tsx theme={null}
import {
RevenueCatProvider,
useRevenueCat,
} from '@/context/RevenueCatProvider';
```
Find the `useEffect` hook in the `App` component.
```tsx theme={null}
//* If you want to use RevenueCat, uncomment the following lines 👇
const { initializeRevenueCat } = useRevenueCat();
useEffect(() => {
....
getUserTrackingPermission();
// Uncomment the following line 👇
initializeRevenueCat();
}, []);
```
Wrap the `RootLayout` component with the `RevenueCatProvider` component.
```tsx {5,7} theme={null}
const RootLayout = () => {
return (
{/* ... */}
);
};
```
Now you can use the `useRevenueCat` hook to get the RevenueCat instance.
You need to configure your subscriptions on Google Play Console and App Store Connect.
I could have added this step too, but this is too specific for your project.
* I am giving you the links to the docs for Google Play Console and App Store Connect.
* [Google Play Console](https://www.revenuecat.com/docs/getting-started/entitlements/android-products)
* [App Store Connect](https://www.revenuecat.com/docs/getting-started/entitlements/ios-products)
Then we are ready to some sellings 🎉