Now we need to set up our AI Proxy Backend.
The AI Proxy Backend is a NodeJS backend that will proxy requests to AI services.So your API keys are not exposed to the users. They are safe in the backend.
AI Proxy Backend Guide
Requirement!
You can not send requests to the backend without Firebase Token Verification. This is a security feature.Available Endpoints
/authPOSTendpoint for authentication and get secret key./ai/openaiPOSTendpoint for OpenAI requests/ai/openai/streamPOSTendpoint for OpenAI streaming requests/ai/visionPOSTendpoint for OpenAI Vision API requests/ai/anthropicPOSTendpoint for Anthropic requests/ai/anthropic/streamPOSTendpoint for Anthropic streaming requests/ai/replicate/generatePOSTendpoint for Replicate requests/ai/fal/generatePOSTendpoint for Fal AI requests
Security Architecture
Our backend uses a multi-layer security approach:- First Layer: API Key Protection
- We don’t send the API_KEY directly
- Instead, we create a signature using the API_KEY
- Check the
useHmachook andapi-client.tsin the Expo code for implementation
- Second Layer: HMAC Authentication
- Backend validates the signature
- If valid, returns an encrypted secret key
- App automatically decrypts and stores it in Keychain
- Third Layer: Firebase Authentication
- Every request requires a Firebase idToken
- Tokens refresh hourly
- Backend caches tokens for 45 minutes
- 15-minute window for token updates
Request Headers
api-client.ts
useHmac.ts
Important Notes
- Auth endpoint is used only once when the app first opens
- Rate limited to 1 auth request per 5 minutes
- HMAC secret key is stored securely in Keychain
- All requests require both HMAC signature and Firebase token
How to start on Local?
- You can start your backend on local with
pnpm run dev - Then you can send requests to
http://localhost:3000/...
- Then you can send requests to
https://[your-ngrok-id].ngrok.app/...
How to create our AI Proxy Backend?

Then you need to run the 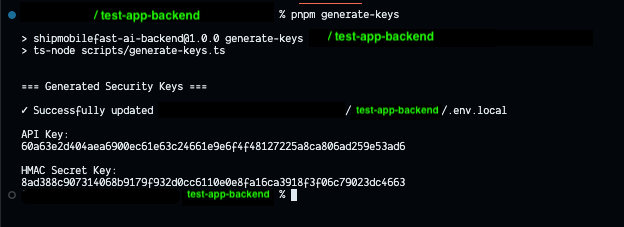
generate-keys command to create the security keys.You need to add to the
.env.production file too.As you can see, the 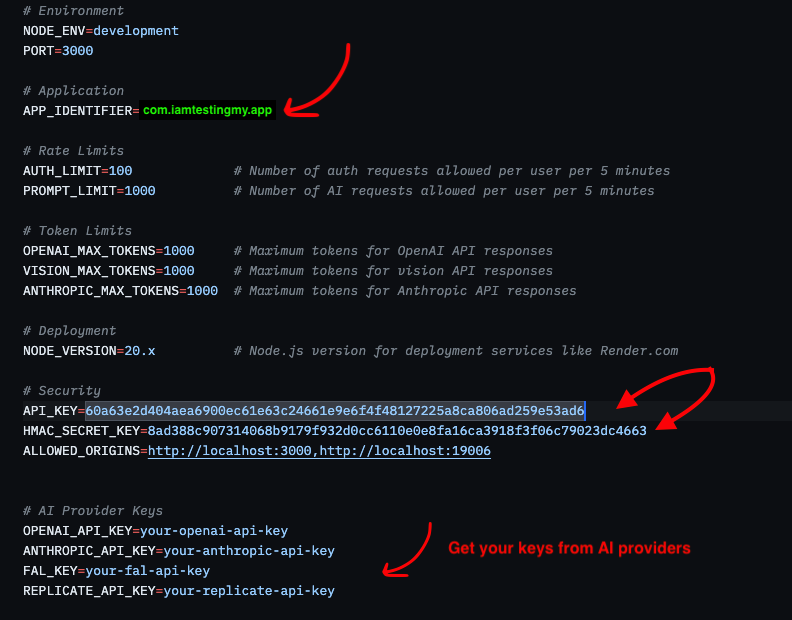
API_KEY and HMAC_SECRET_KEY are created.Now type your app identifier: like: com.shipmobilefast.app.And copy the API_KEY and paste it on the Expo project’s .env file.ALLOWED_ORIGINSis the list of origins that are allowed to send requests to the backend. So make it your app’s identifier.
Get your AI Provider Keys.
- OpenAI: https://platform.openai.com/api-keys
- Anthropic: https://console.anthropic.com/settings/keys
- Replicate: https://replicate.com/account/api-tokens
- Fal AI: https://fal.ai/dashboard/keys
.env.local and .env.production files.Now we need to download the Firebase Service Account JSON file.Go to the Project Settings and click on the 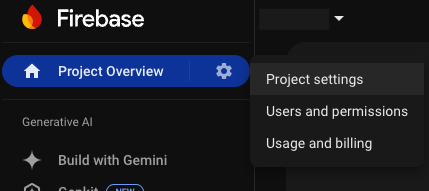
Service Accounts tab.
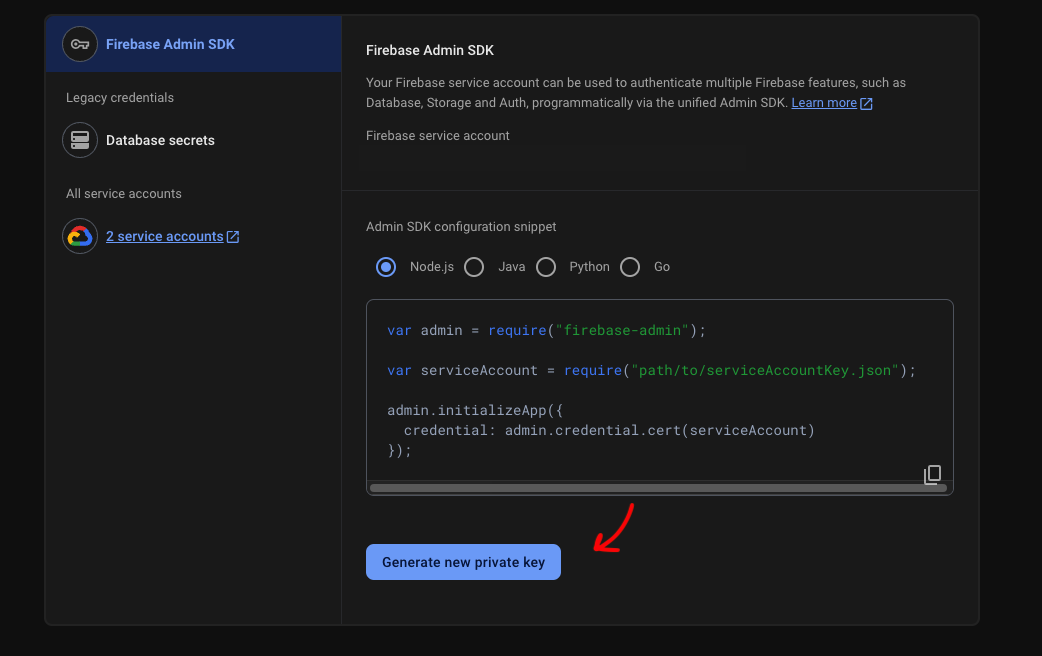
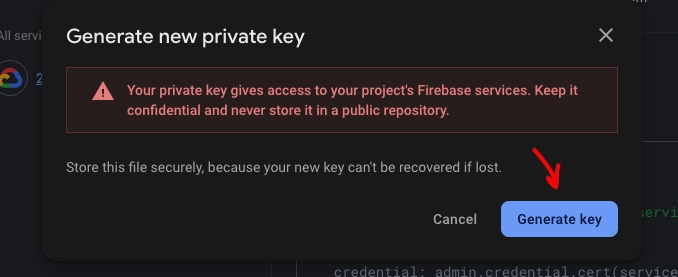
After downloading the JSON file, you need to add it to the backend and change the name as 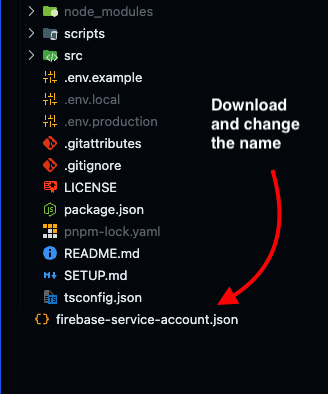
firebase-service-account.json.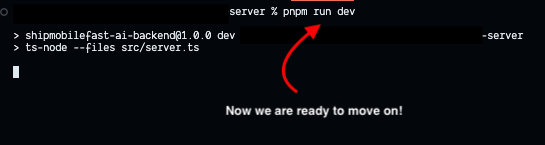
So how can I test the App? We haven’t build the app yet. Let’s go to the test on Simulators.
Build
Create a development build