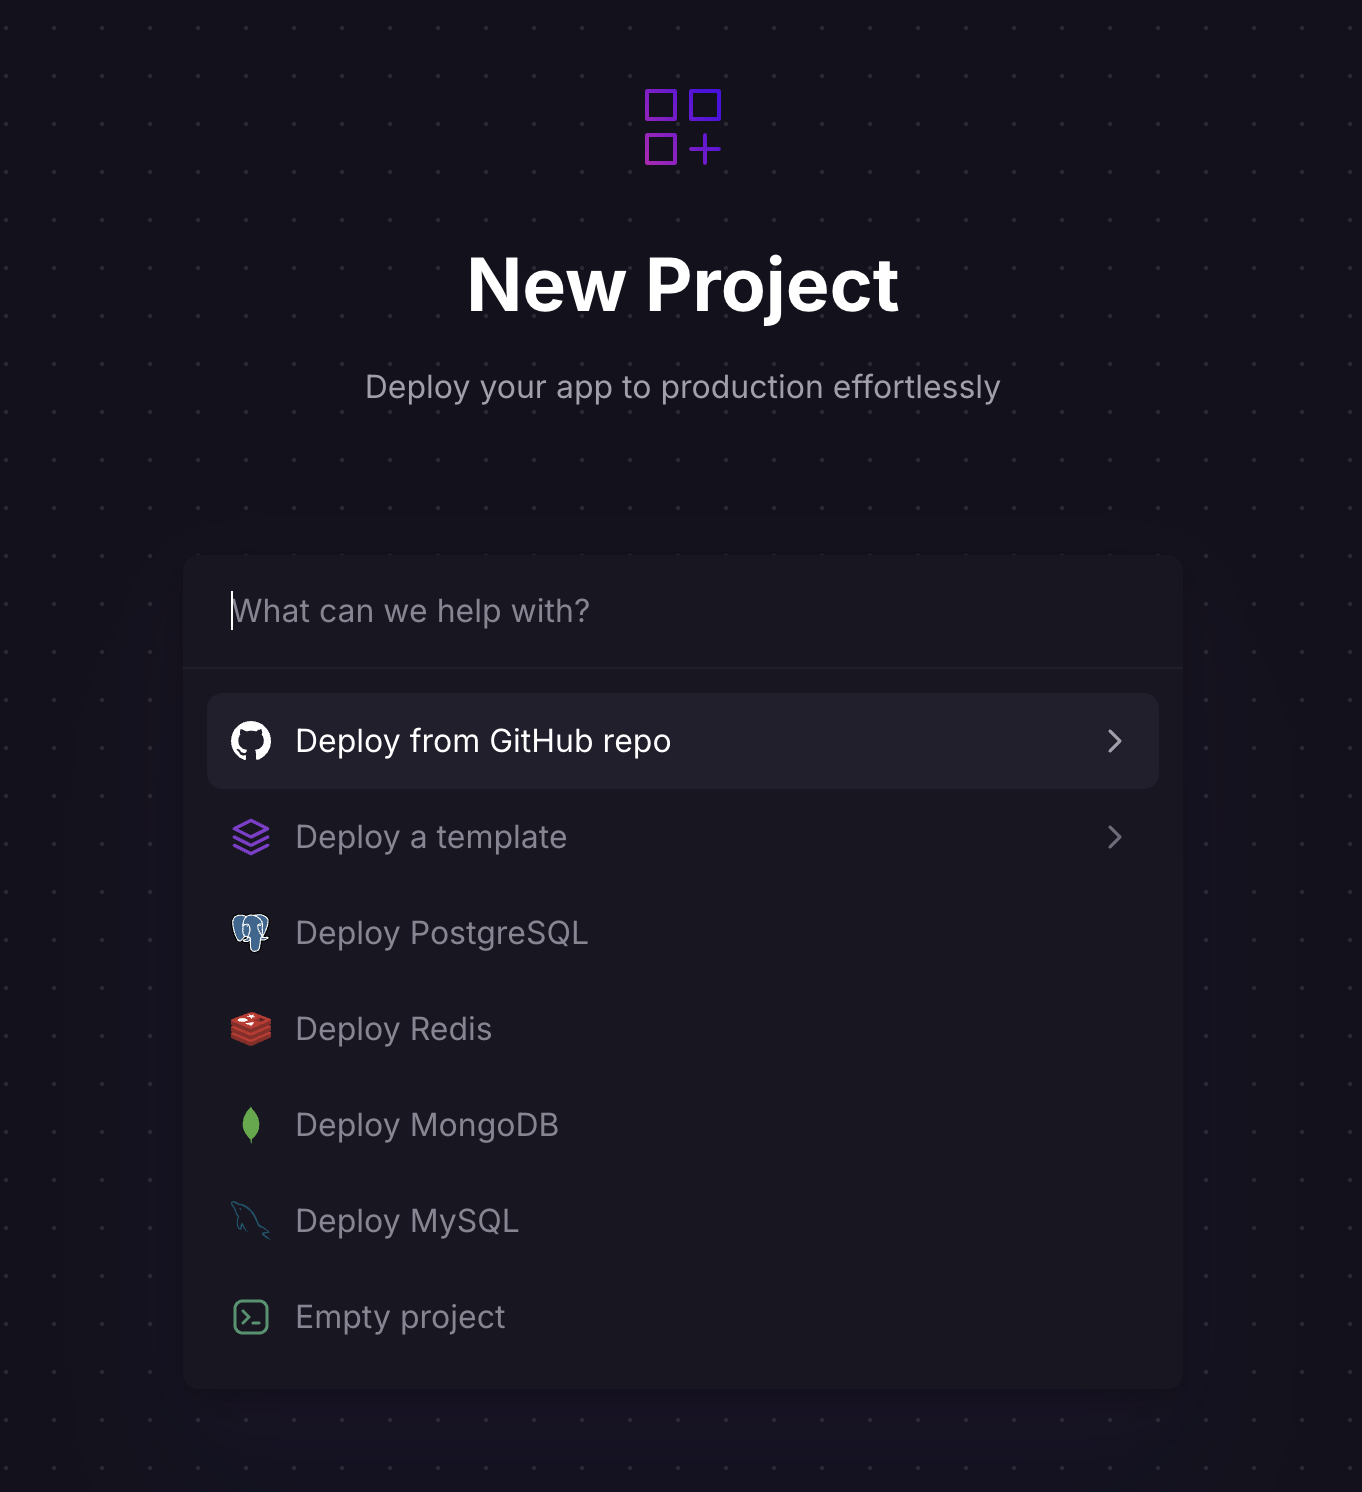
First, you need to create a new project on Railway.
Create an account on Railway
Click to navigate to Railway and create a new account.
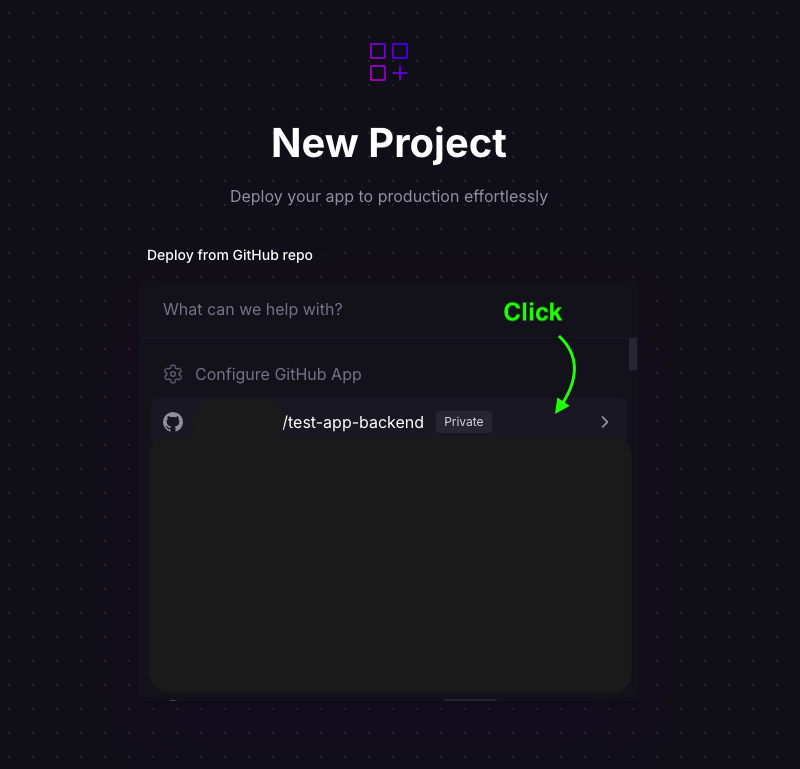
After you pick the repository, you need to abort the deployment.Because we need to import our 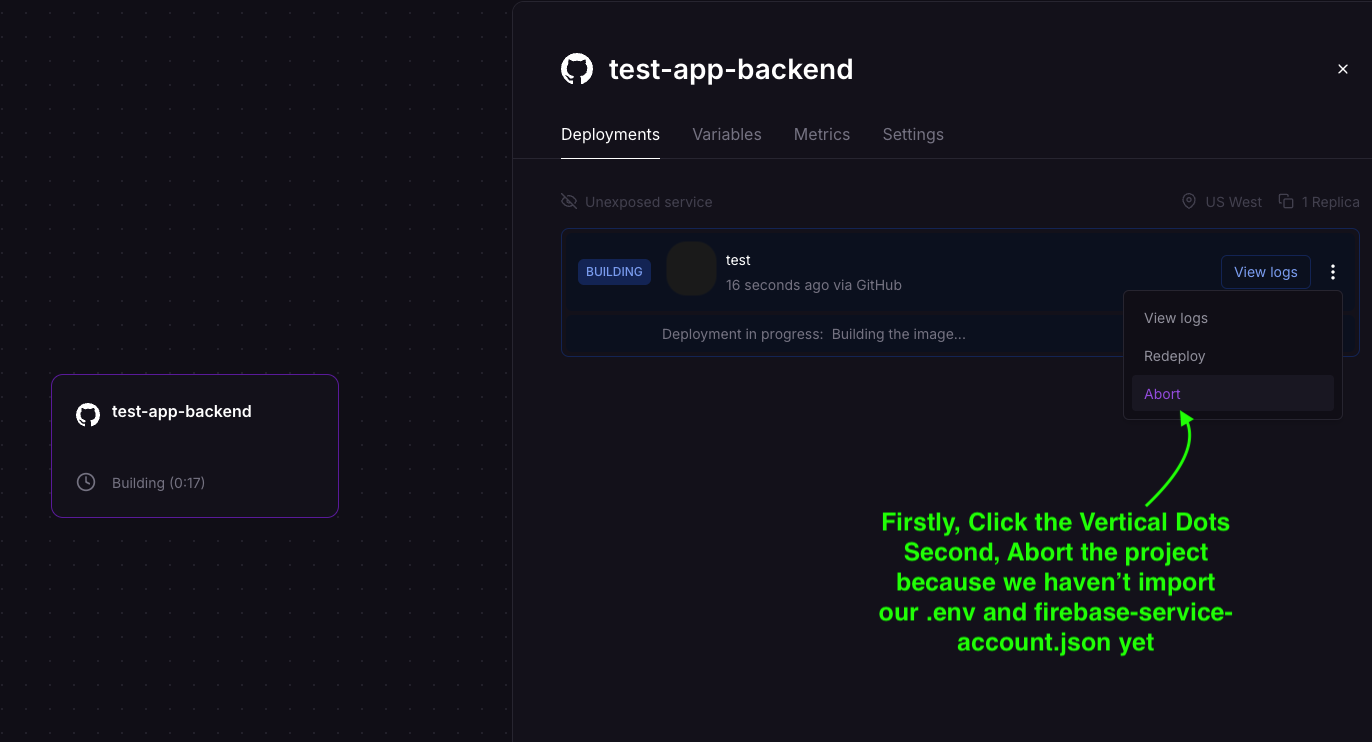
.env variables into the Railway project.
Copy the 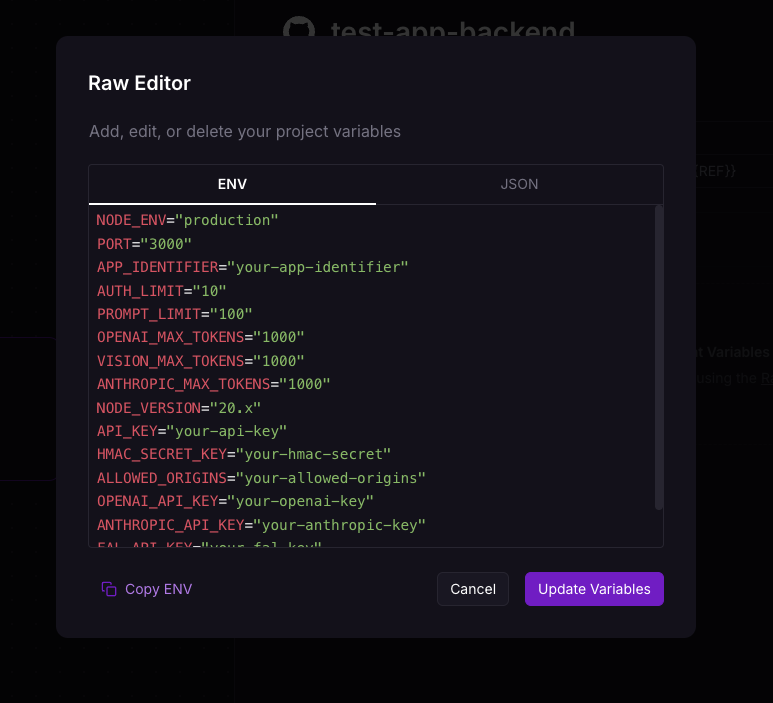
.env variables from the [your-app-name]-backend/.env.production file and paste it into the Railway project.Then click Update Variables.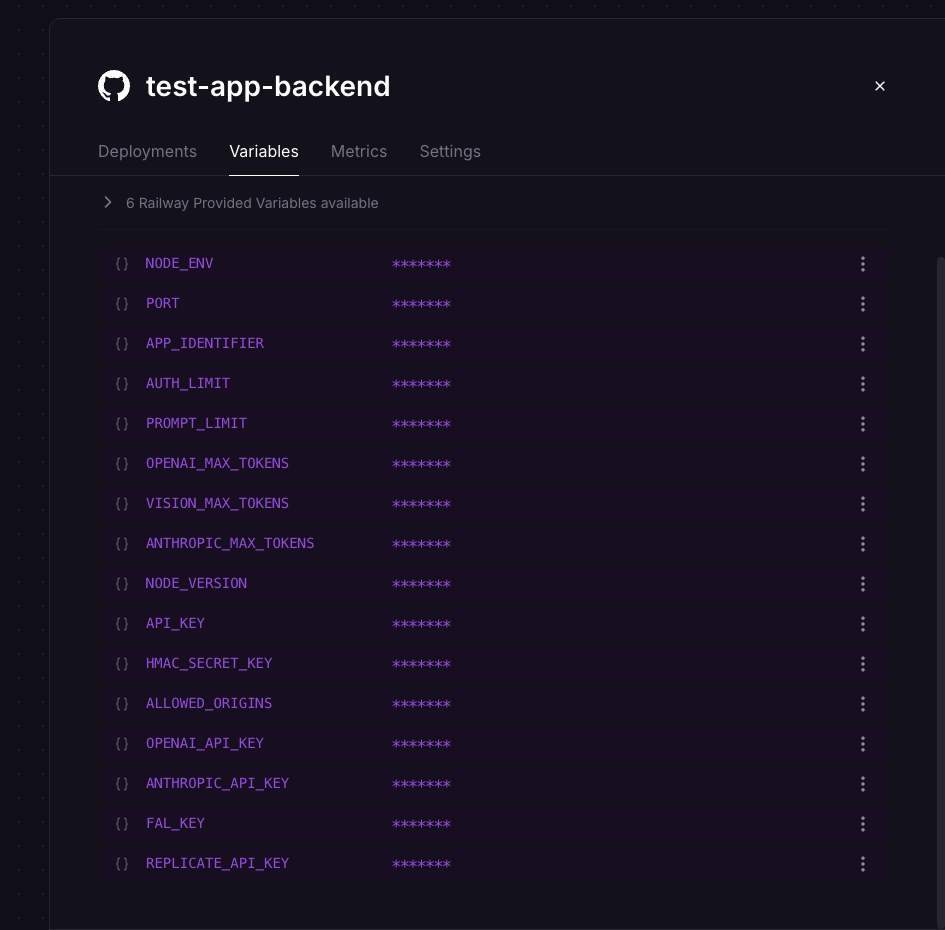

Name should be 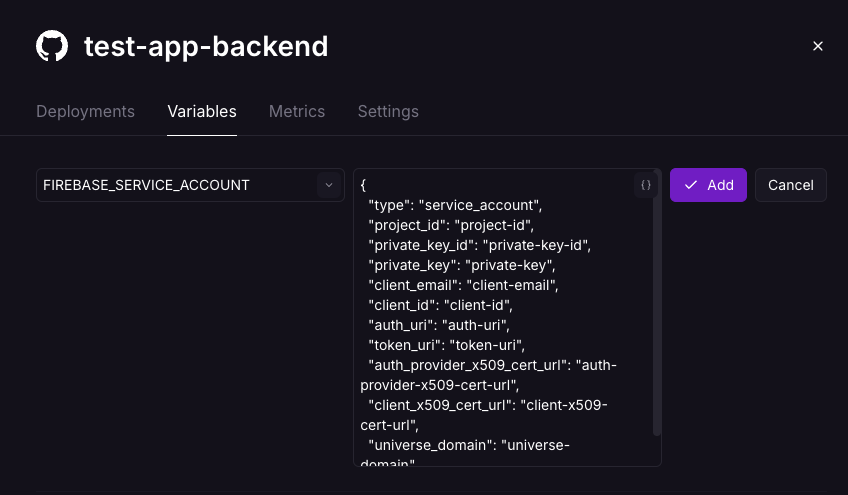
FIREBASE_SERVICE_ACCOUNT and the value should be the content of the [your-app-name]-backend/firebase-service-account.json file.Click the Add button.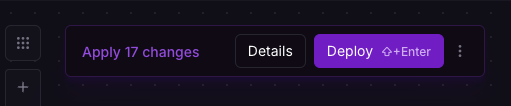
After successfully deploying the backend, go to the settings section and click the “Generate Domain” button.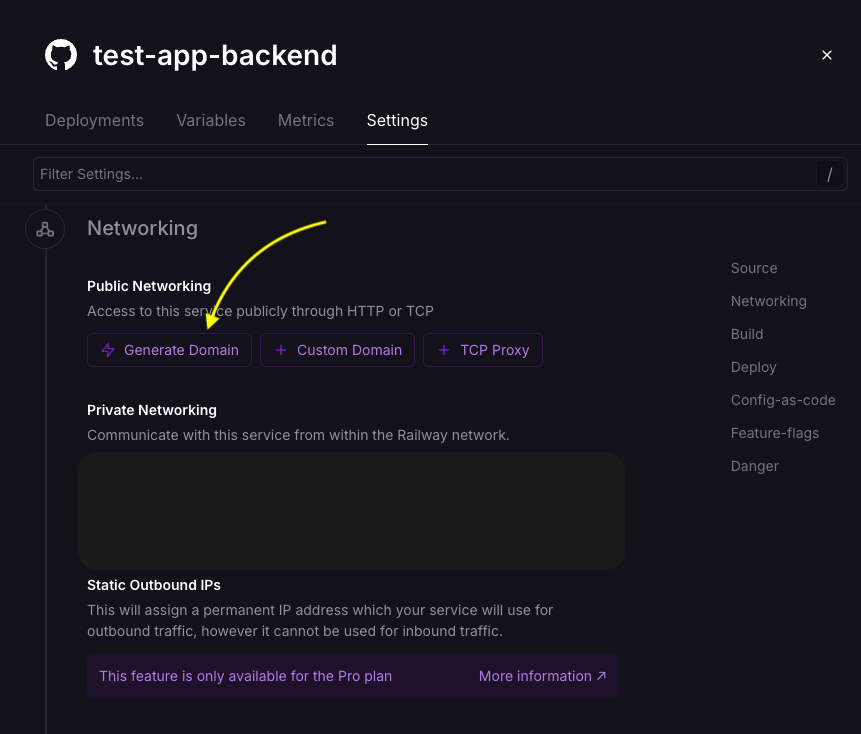
After generating the domain, you can add it to the Expo environment variables. (Especially for the .env.production file)Copy the domain and paste it into the 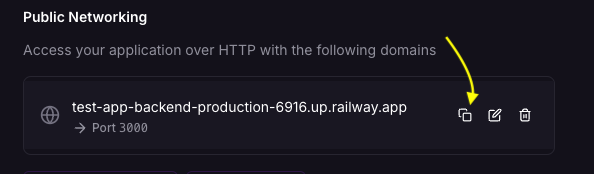
You can run it with ngrok or localhost on dev mode.
.env.production file.When you want to publish your app, it is okey to go with that.But in development, you don’t need to deploy the backend.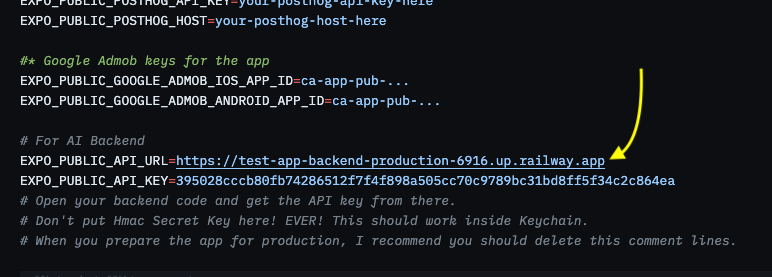
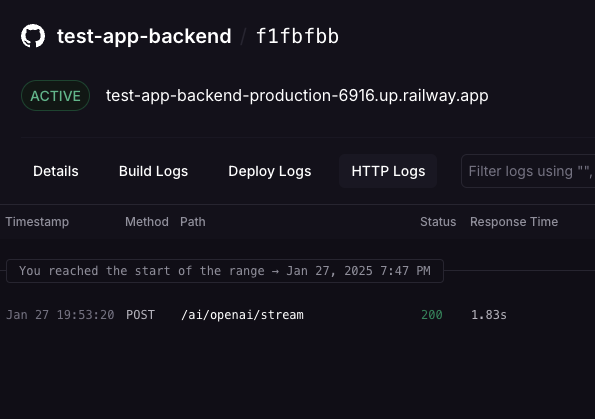
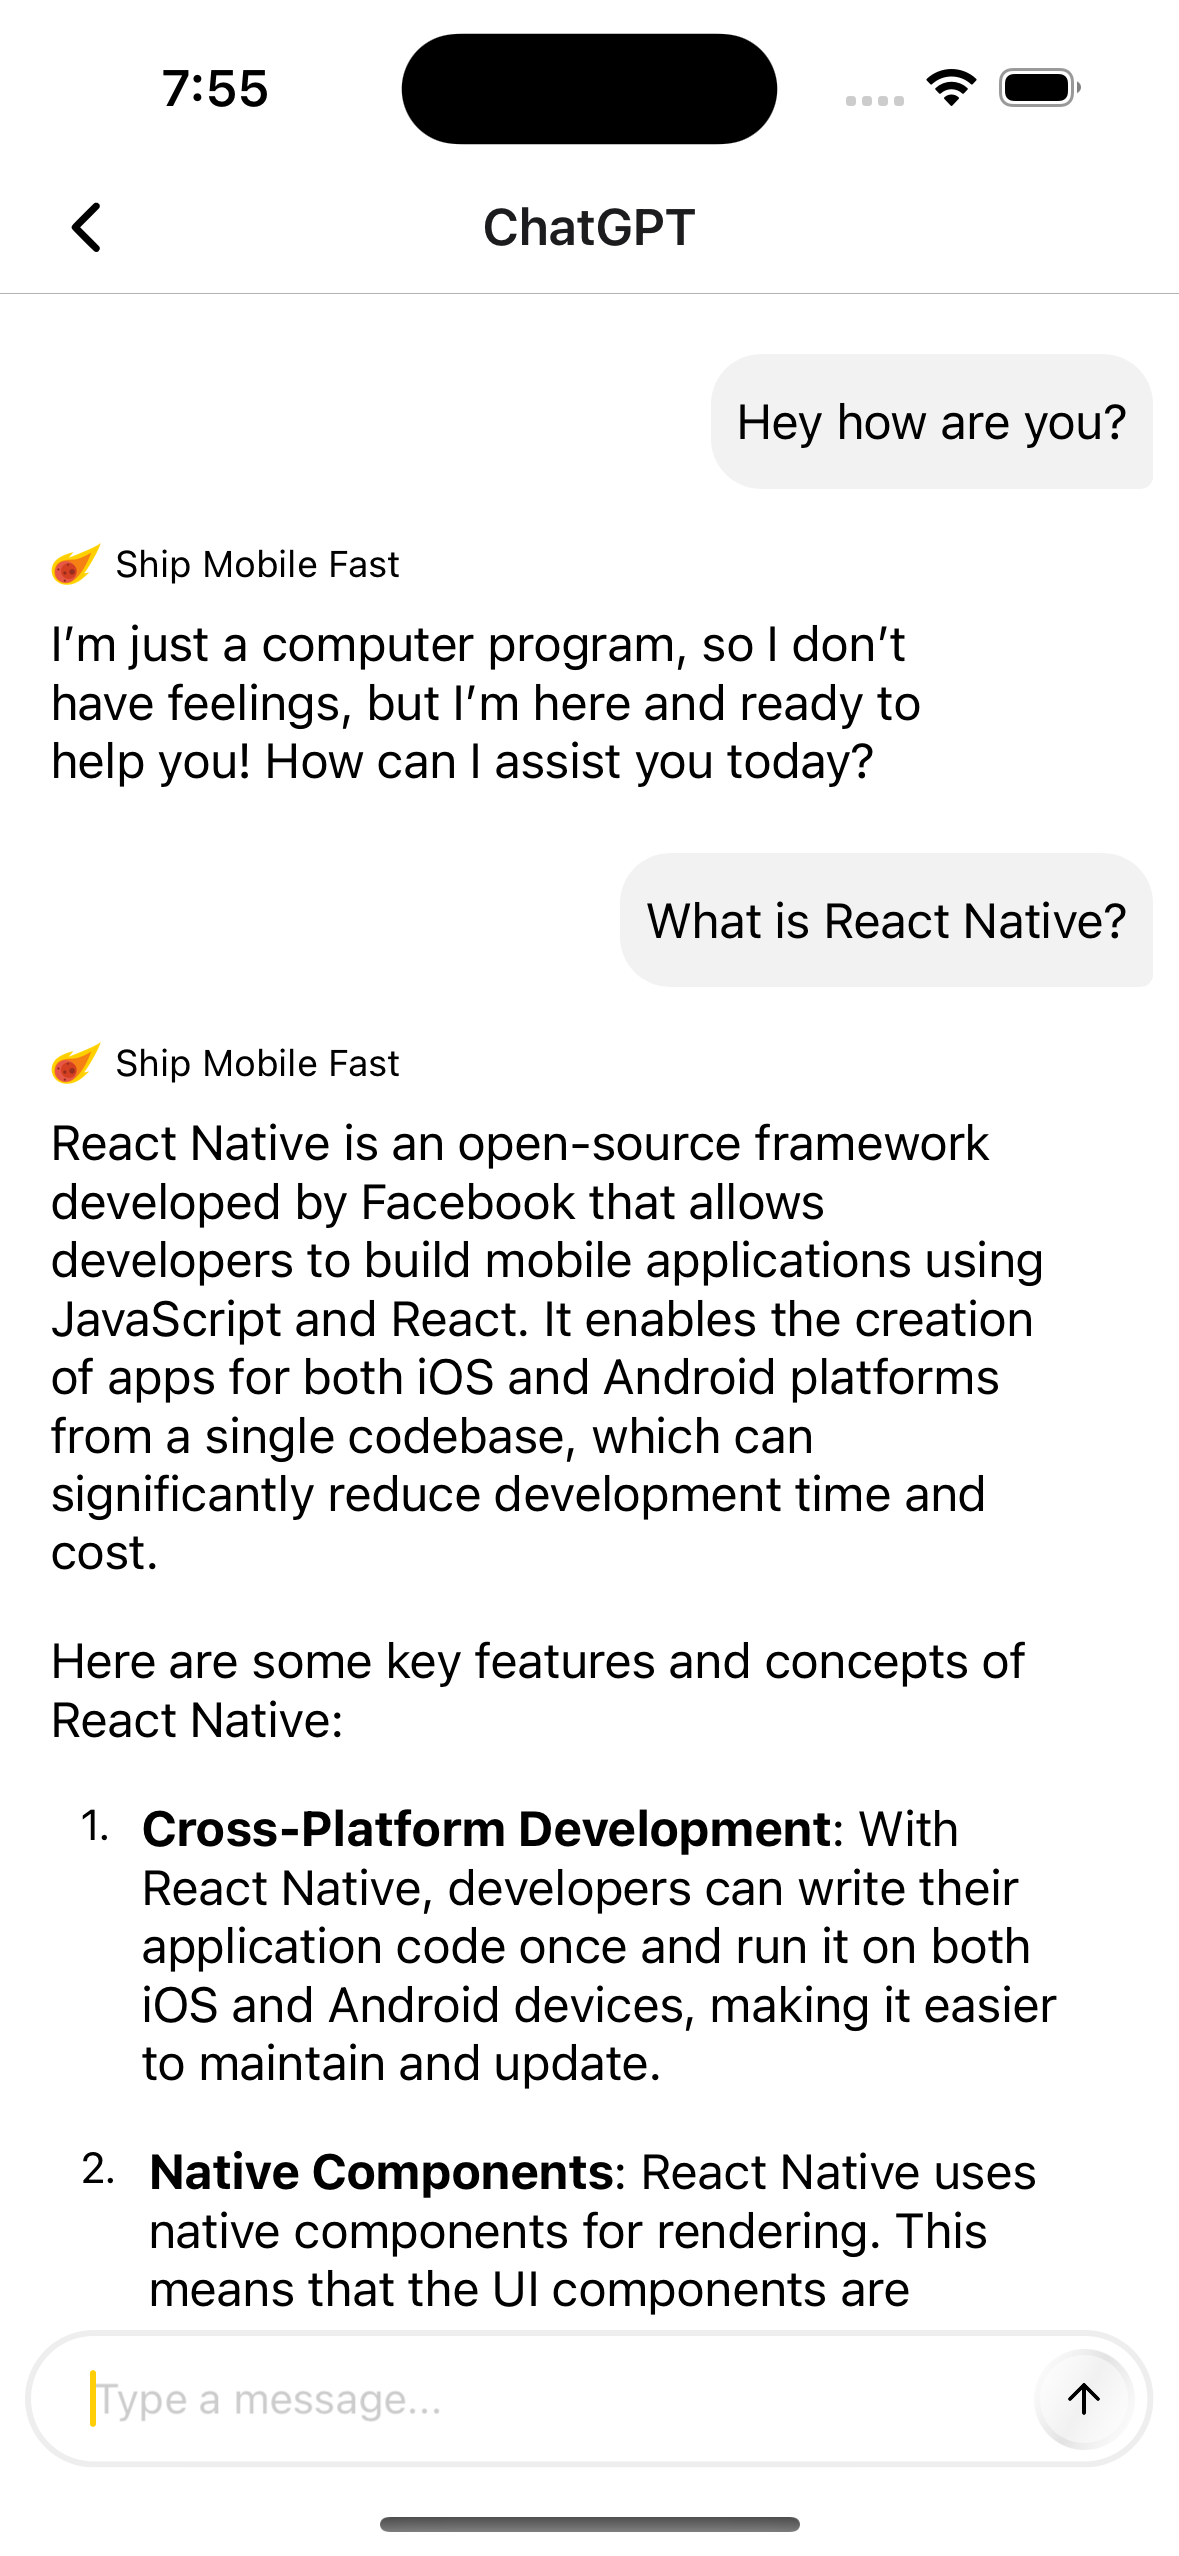
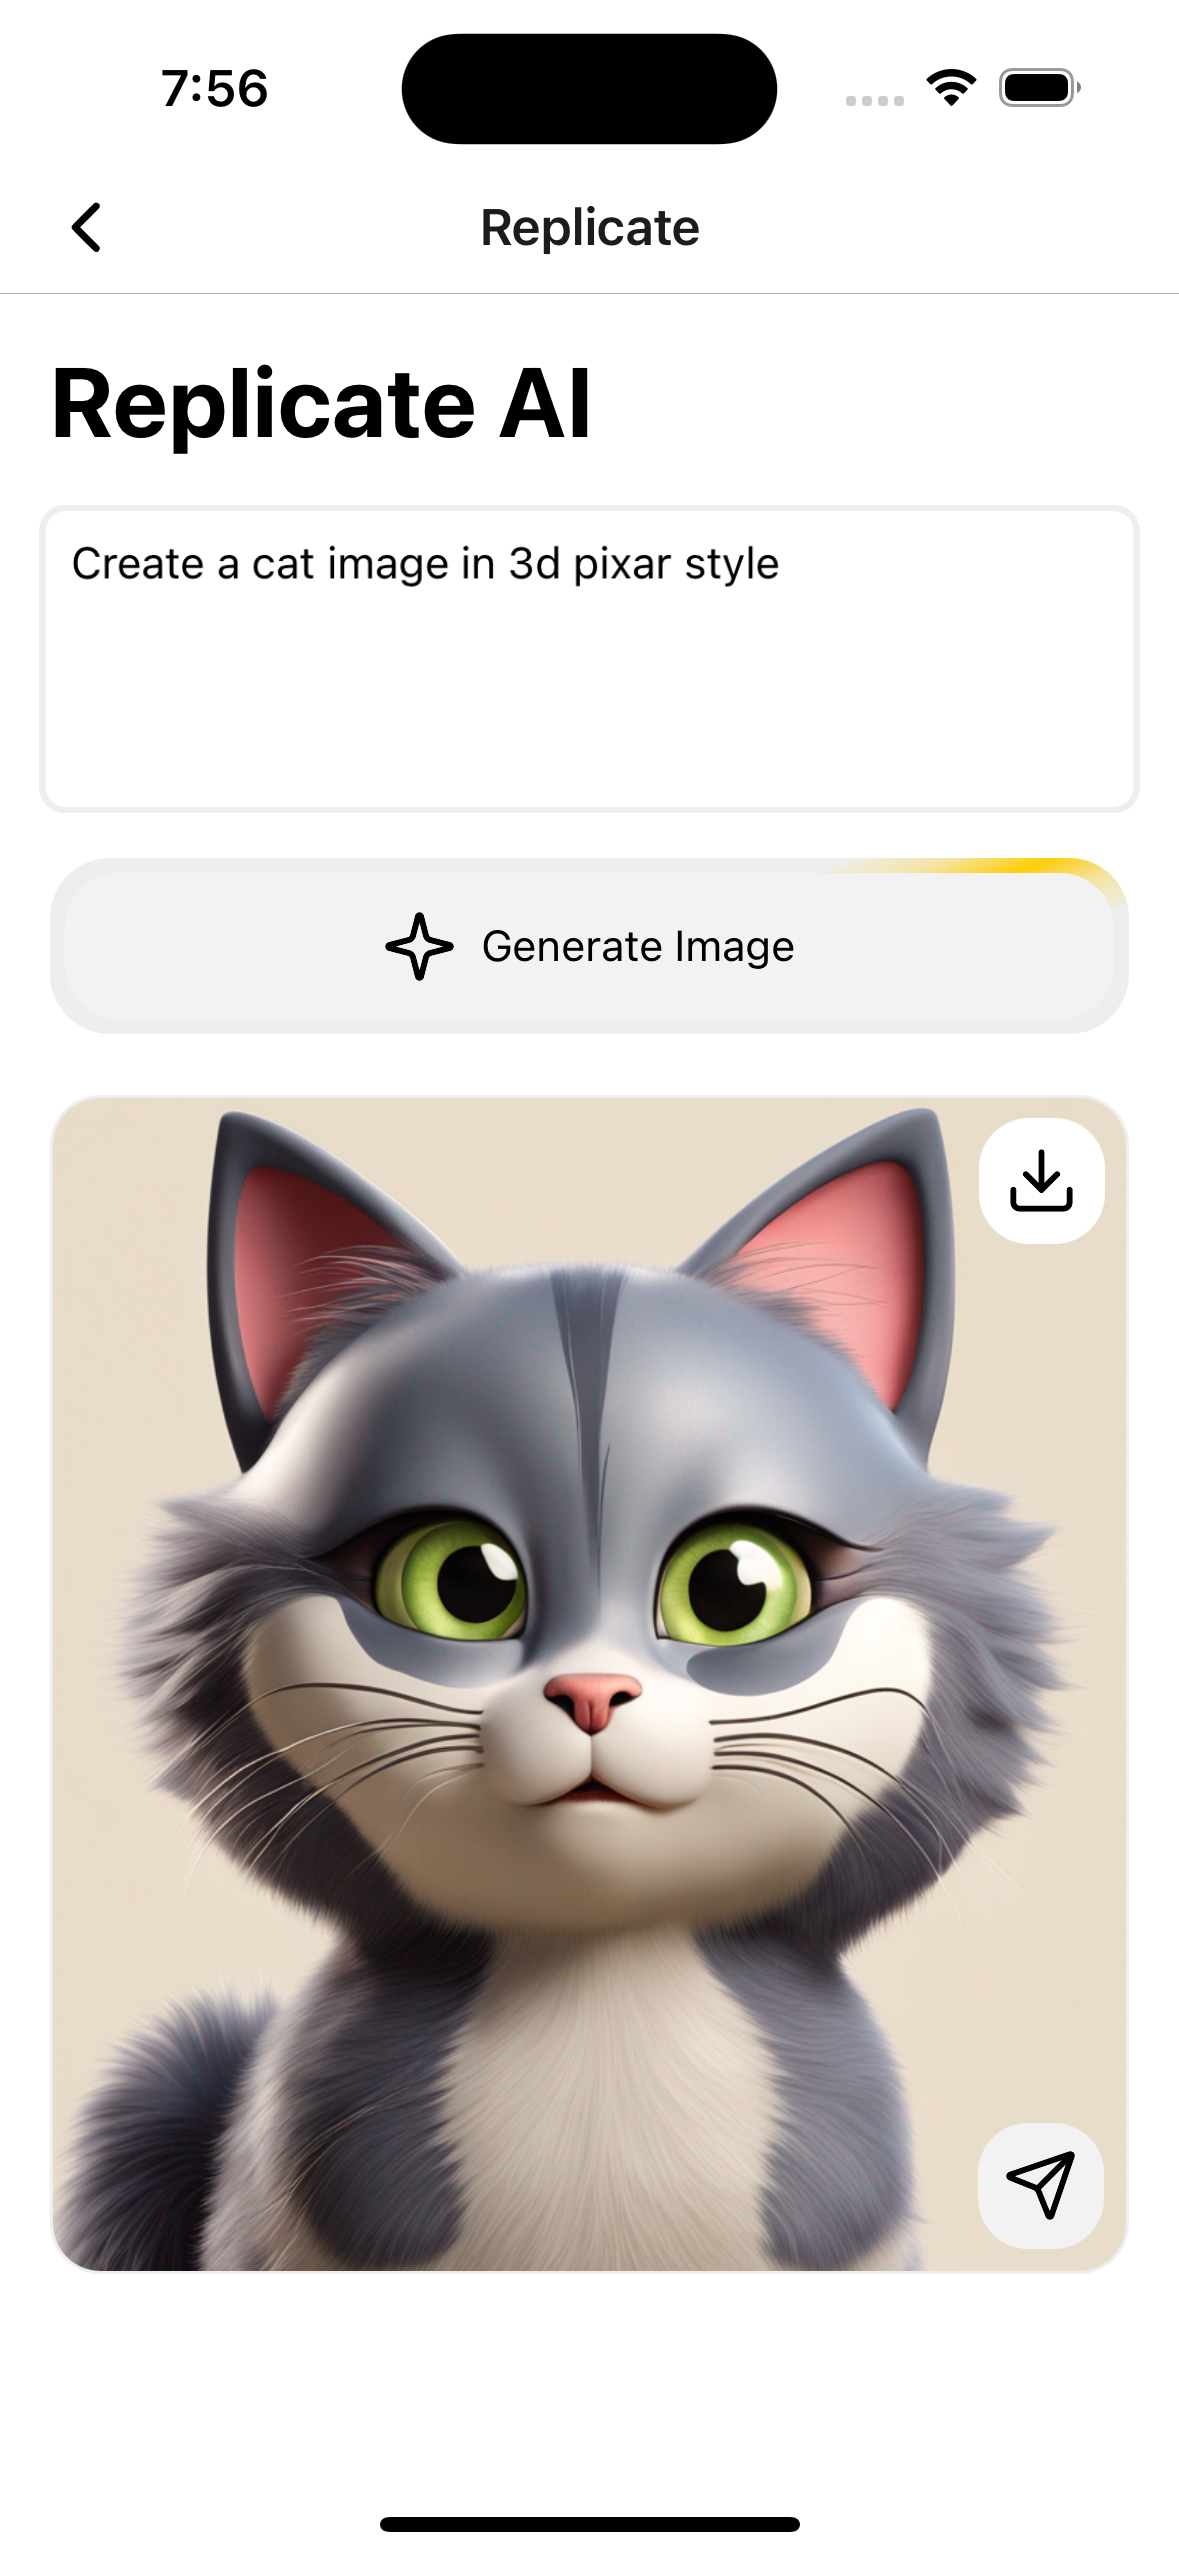
Open Expo App and try something. (I have all API keys so I can try everything)As you can see, our request is successfully sent to the backend.