Quick Start

1

First, go to the PostHog Setup and create an account.

2

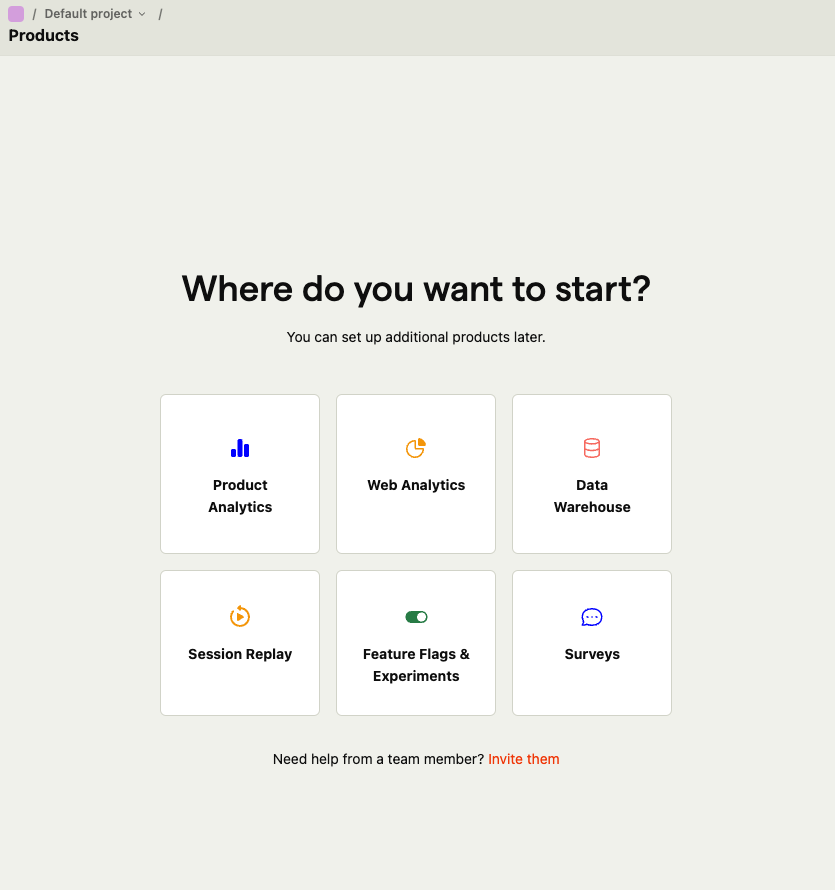
After you create your account, you’ll see this screen.

Click the Product Analytics button.

3

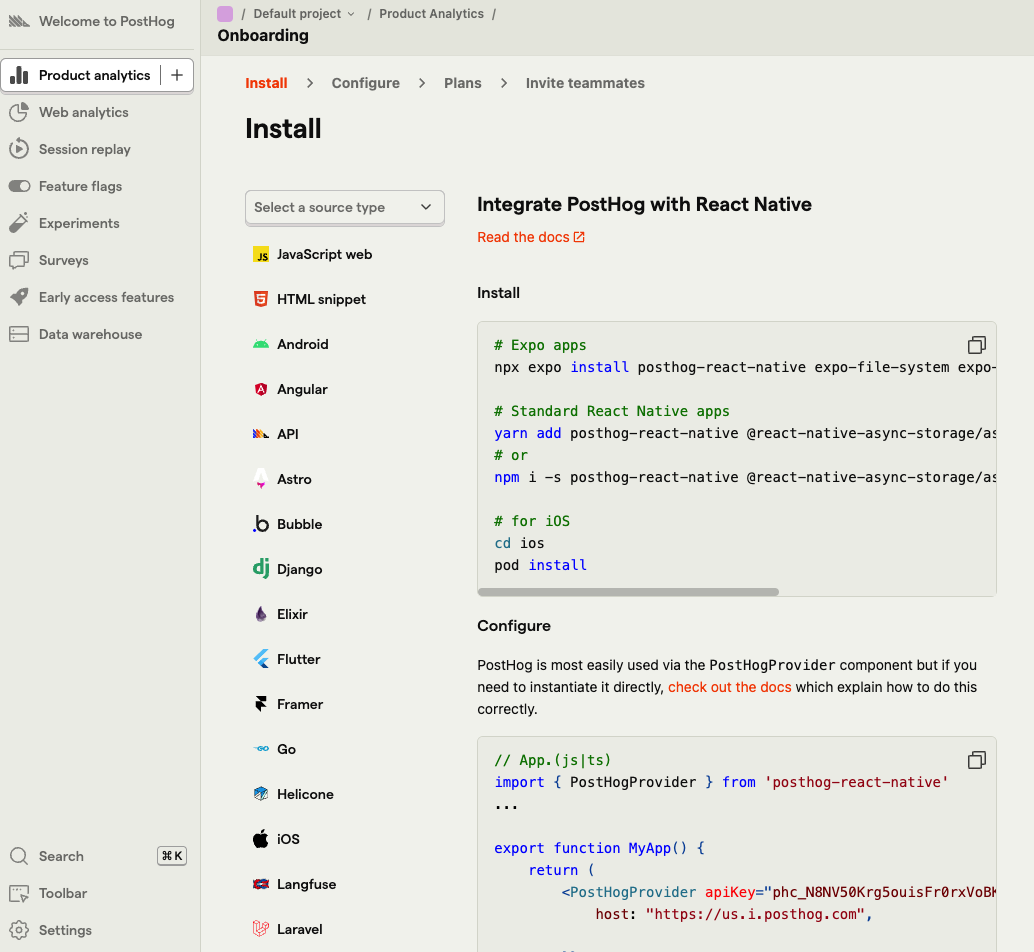
After you click the Product Analytics button, you’ll see this screen and pick the React Native option.
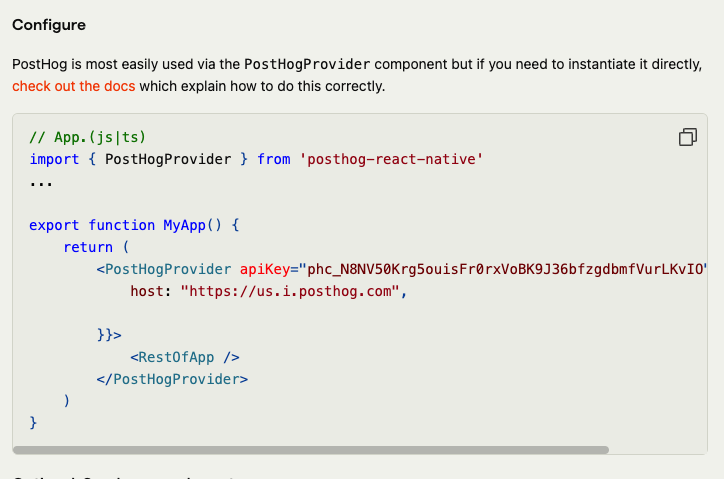
4

Copy the apiKey and host.

5

Go to the .env file and add this:

EXPO_PUBLIC_POSTHOG_API_KEY=your-posthog-api-key-here
EXPO_PUBLIC_POSTHOG_HOST=your-posthog-host-here
6

Then go to the app/_layout.tsx file and add this:

app/_layout.tsx
import { PostHogProvider } from 'posthog-react-native';
import { posthog } from '@/services/posthog/posthogConfig';
7

And add this to the bottom of the app/_layout.tsx file:

app/_layout.tsx
const RootLayout = () => {
return (
  <Provider store={store}>
    {/* If you want to use Posthog, add the following lines 👇 */}
    <PostHogProvider client={posthog}>
    <AuthProvider>
     {...}
    </AuthProvider>
    </PostHogProvider> {/* 👈 */}
  </Provider>
  );
};
8

This is optional, but if you want to session replay, you can uncomment some of the following lines:

As a final step, go to the @services/posthog/posthogConfig.ts file and you can uncomment some of the following lines.
9

That’s it. You are done. Capture even the Imagination!