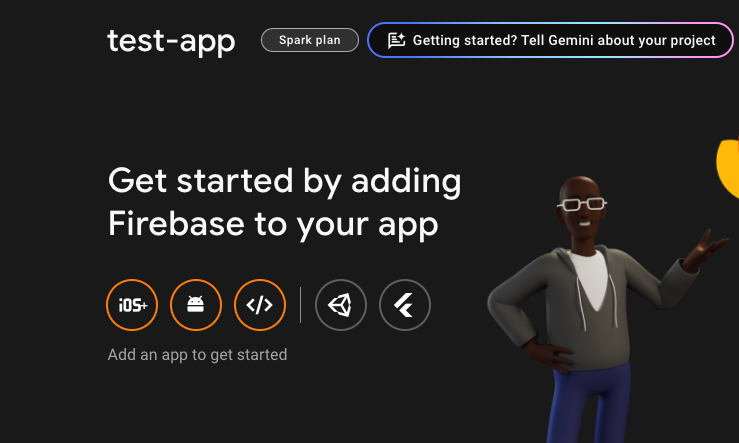
2. Firebase Setup
Create a Firebase project
Go to Firebase.
Create a new project.
Pick a name for your project.
Okay let’s move on to the next step.
Now, you need to create seperate IOS and Android apps in your Firebase project.
Type your scheme: (We’ve defined in previous step)
If you download this file, this is not going to work.
This is not related with us. This is a bug in @react-native-firebase.
So, move to the next step.
Now, create an Android app.
Download google-services.json file.
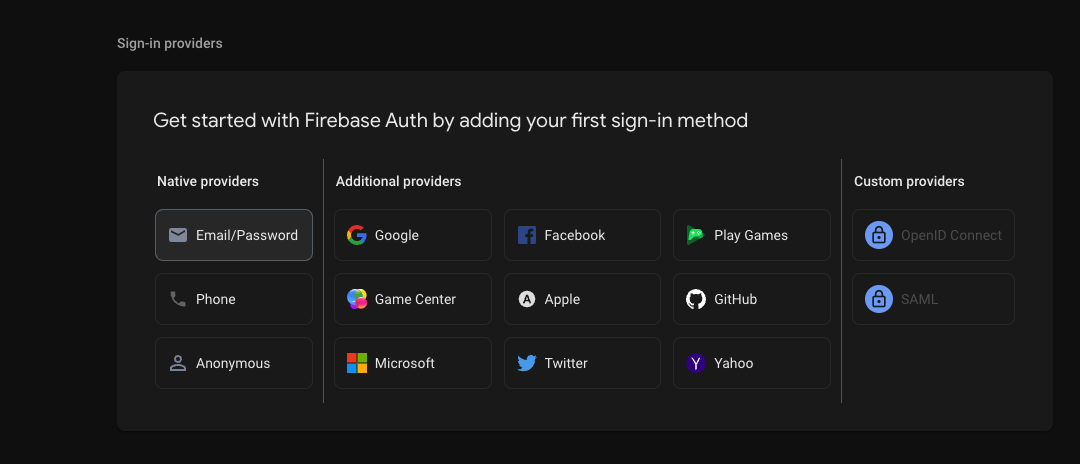
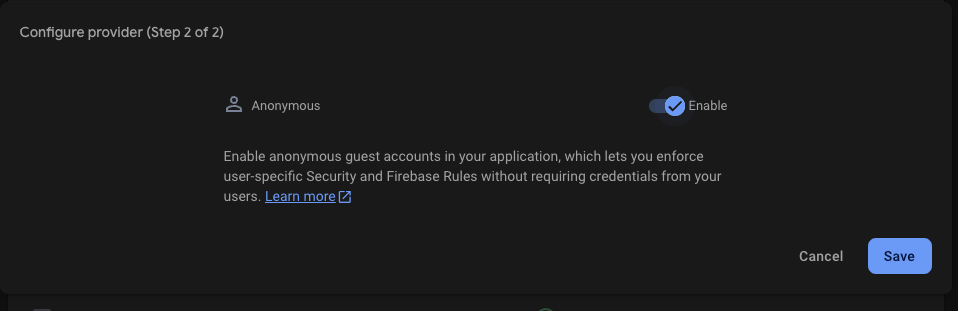
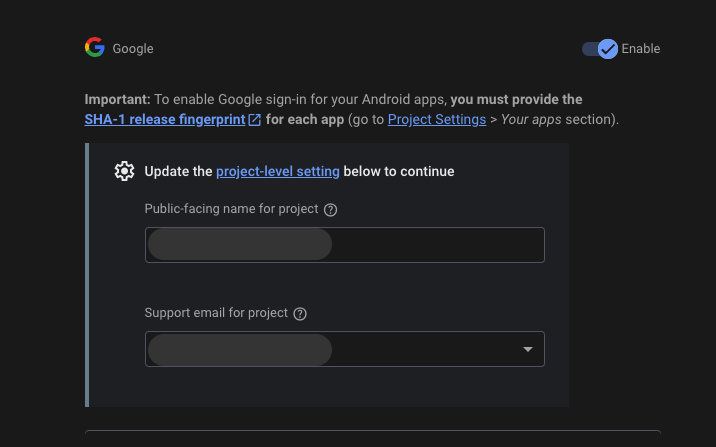
Now, go to the Authentication section and activate which one you want to use. I am going to activate 3 of them.
Click on the Get Started button.
Click on the Email/Password button.
Enable the Email/Password authentication and Save it.
Go to the Anonymous Authentication section and enable it.
Go to the Google Authentication section and enable it.
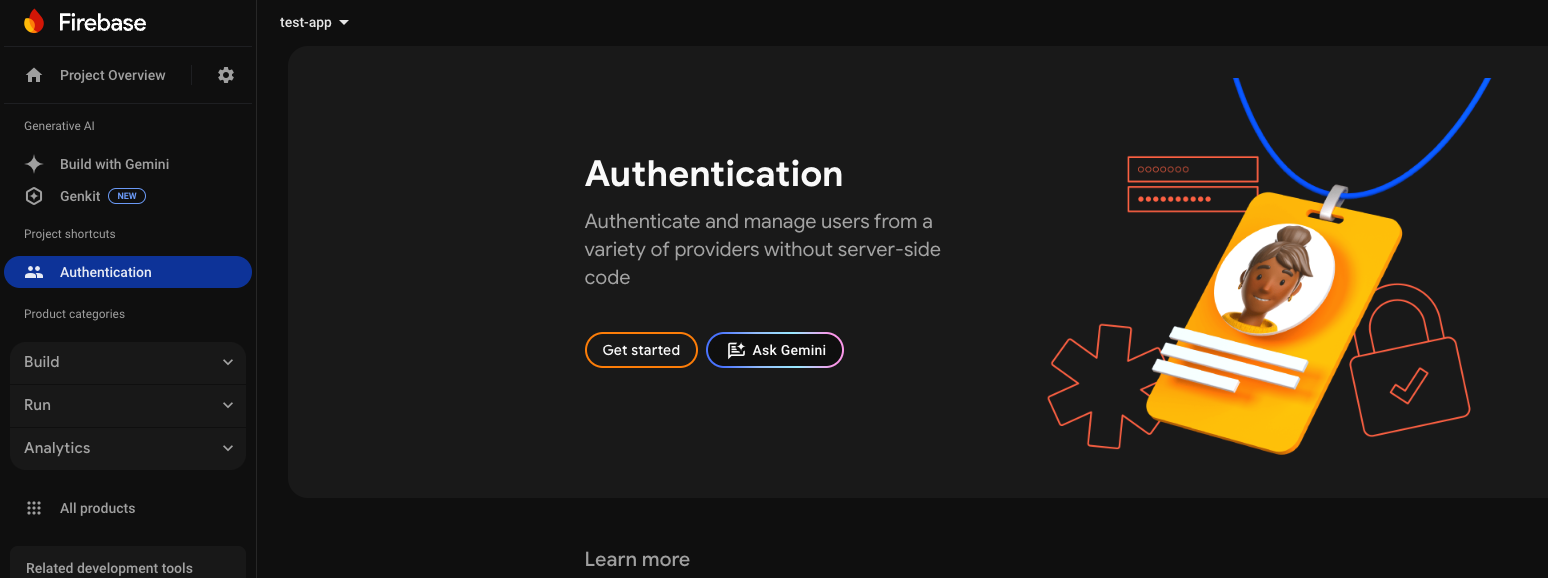
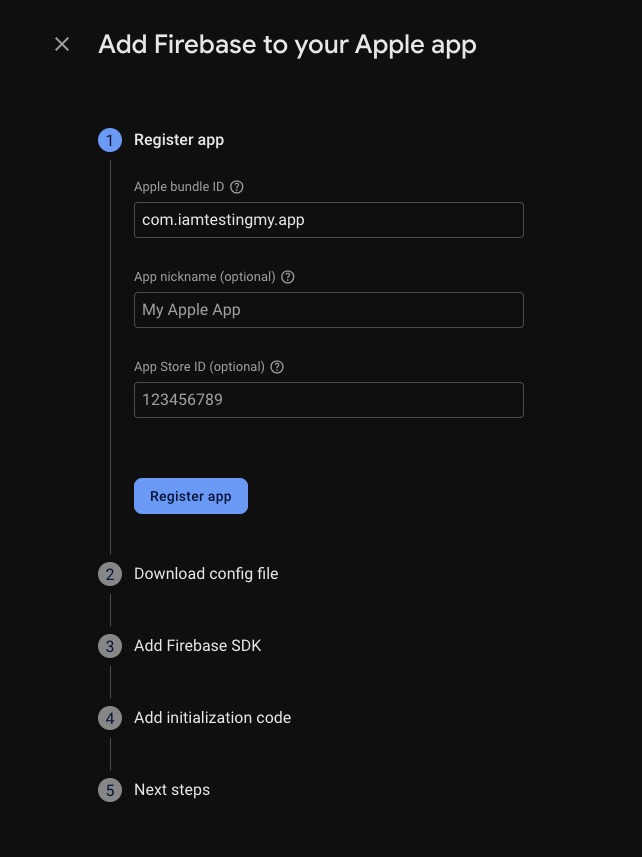
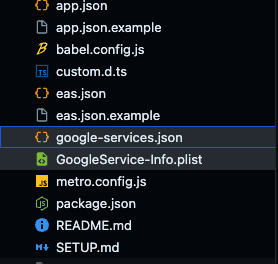
Now you can download GoogleService-Info.plist file.
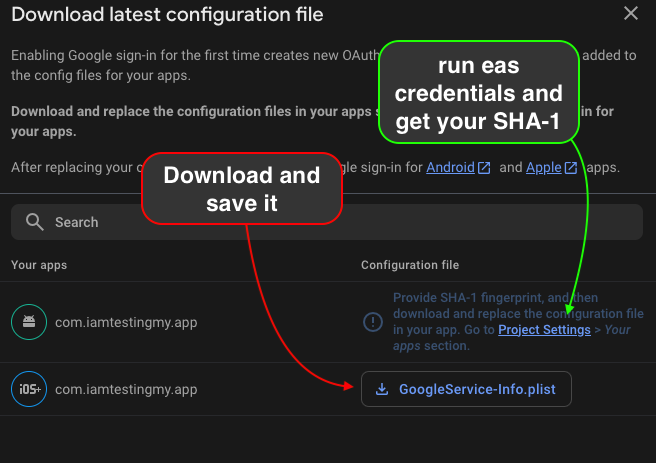
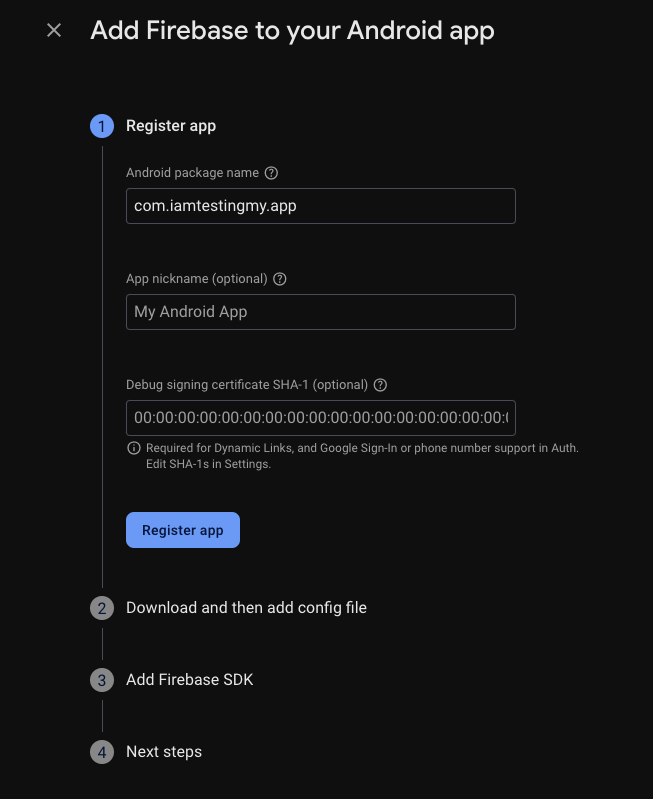
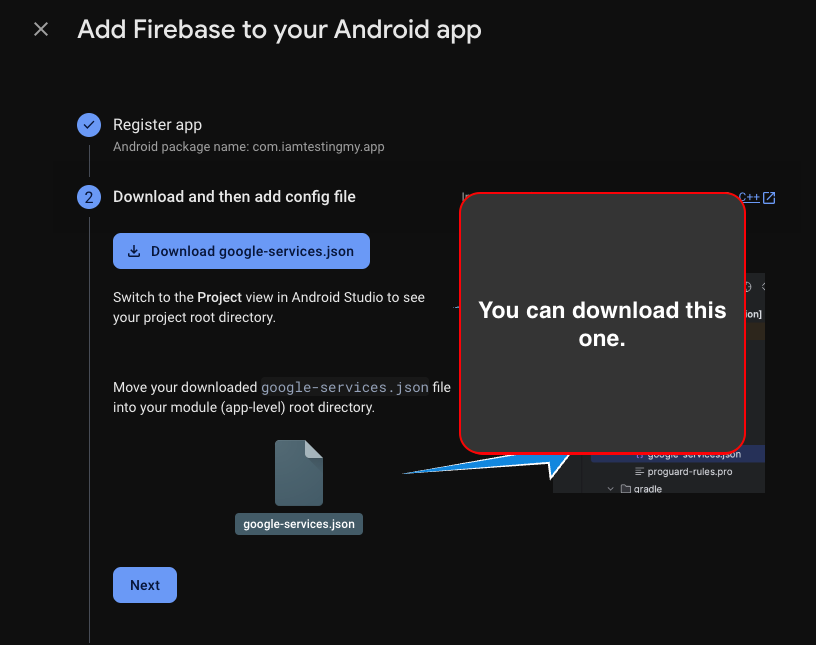
This file is for IOS. If you want to use on Android, you need to get eas credentials (sha-1 key) by calling eas credentials
.
How to get SHA-1
Click to navigate to the How to get SHA-1 page.
And you need to save it on your Expo codebase.
Now, we are going to build our AI Proxy Backend
Don’t start or npm install yet.
Build AI Proxy Backend
Click to navigate to the AI Proxy Backend page.
Was this page helpful?