We are using RevenueCat to handle in-app purchases.
First, you need an Apple Developer & Google Play Developer Account to setup in-app purchases.
Setup
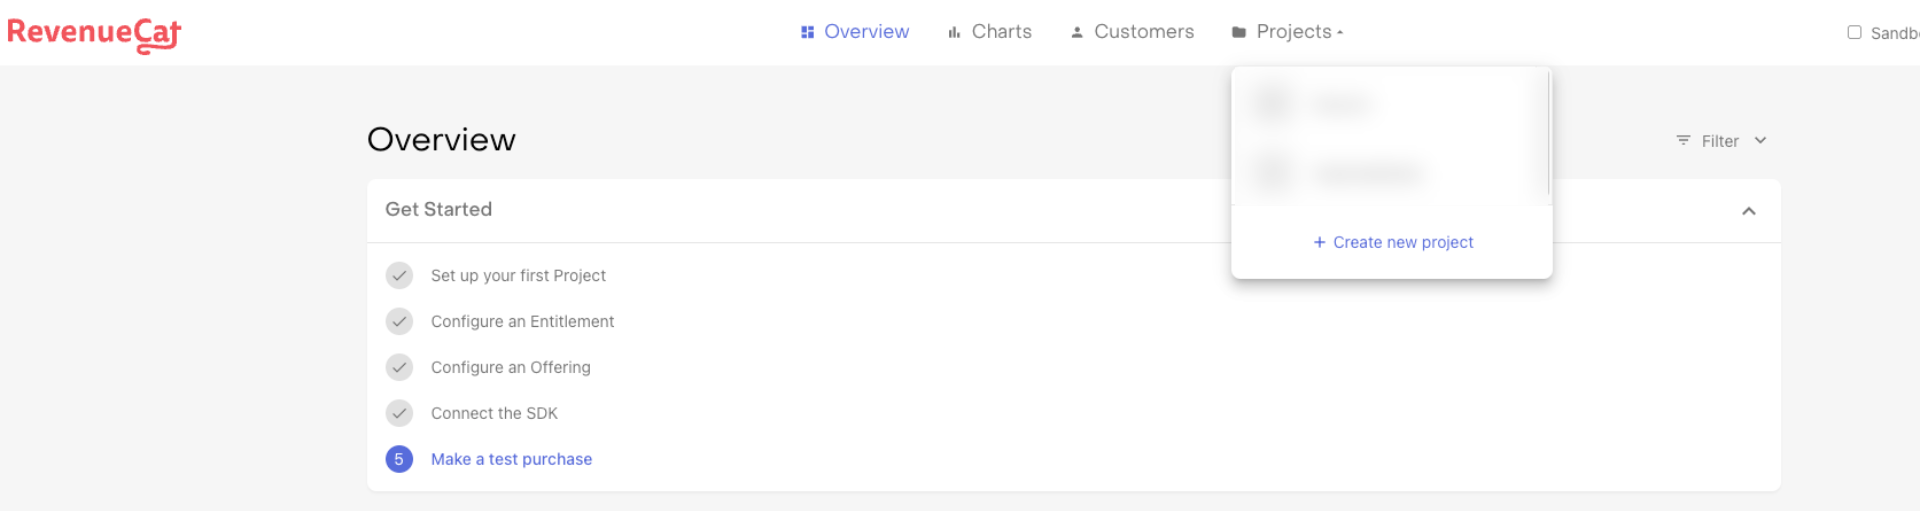
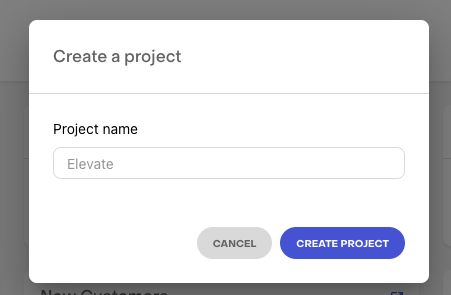
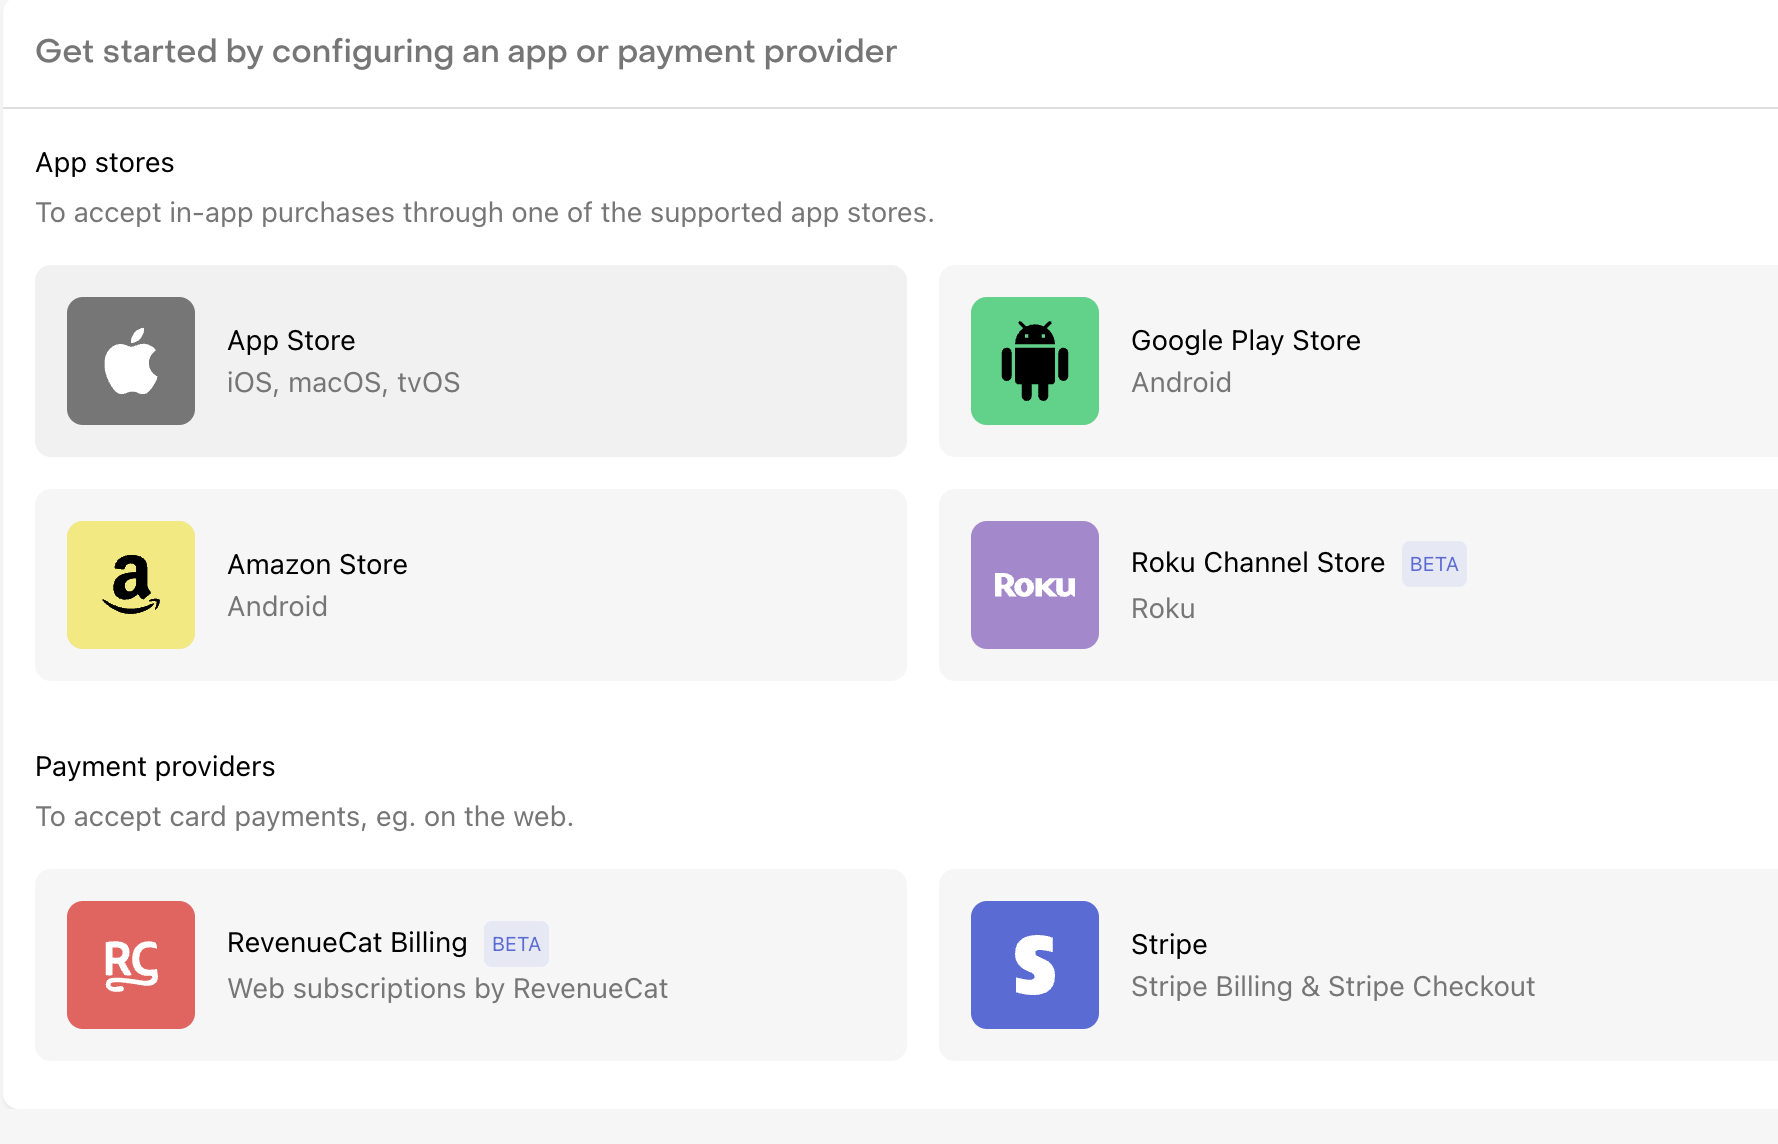
After you create your account, click on the Create Project button. After creating your project, you need to define your project name. Then, we are continuing with the tabs for platform-specific setup. After completing two platform-specific setup, open your app/_layout.tsx file.
- Add the
RevenueCatProvider component.
import {
    RevenueCatProvider,
    useRevenueCat,
} from '@/context/RevenueCatProvider';
Find the useEffect hook in the App component.//* If you want to use RevenueCat, uncomment the following lines 👇
const { initializeRevenueCat } = useRevenueCat();
useEffect(() => {
....
getUserTrackingPermission();
// Uncomment the following line 👇
initializeRevenueCat();
}, []);
Wrap the RootLayout component with the RevenueCatProvider component.const RootLayout = () => {
return (
<Provider store={store}>
<AuthProvider>
<RevenueCatProvider>
{/* ... */}
</RevenueCatProvider>
</AuthProvider>
</Provider>
);
};
Now you can use the useRevenueCat hook to get the RevenueCat instance.
You need to configure your subscriptions on Google Play Console and App Store Connect.
Then we are ready to some sellings 🎉