Sign in with Google on Expo React Native IOS
First make sure you have completed the Google OAuth Web page.- We need Supabase to be setup.
1
First of all, you need to create a new project in the Google Cloud Console if you don’t have one already.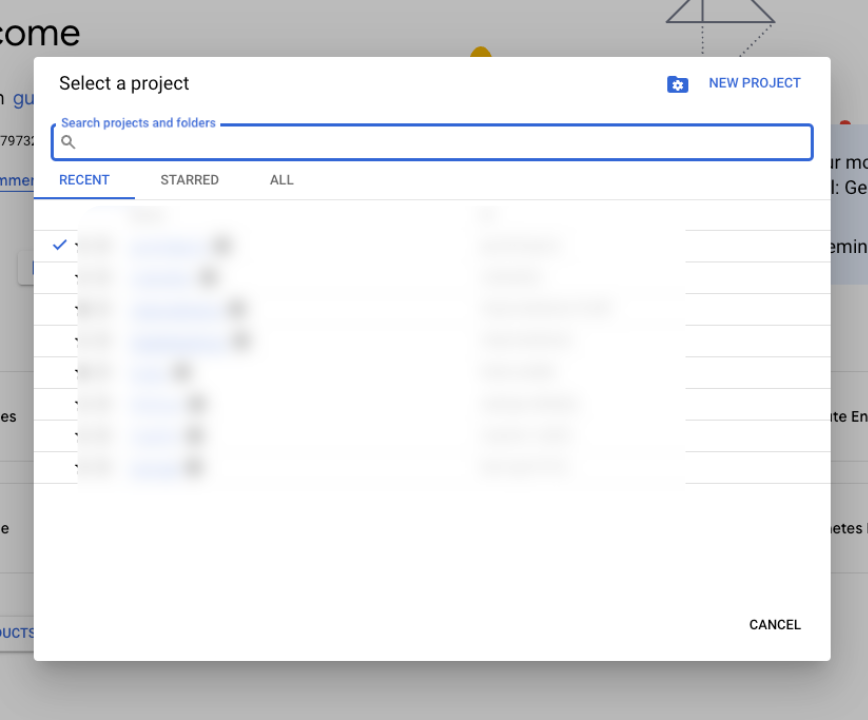
- We created a new project in RevenueCat Integration Android page. If you want you can follow this first.
2
Click the 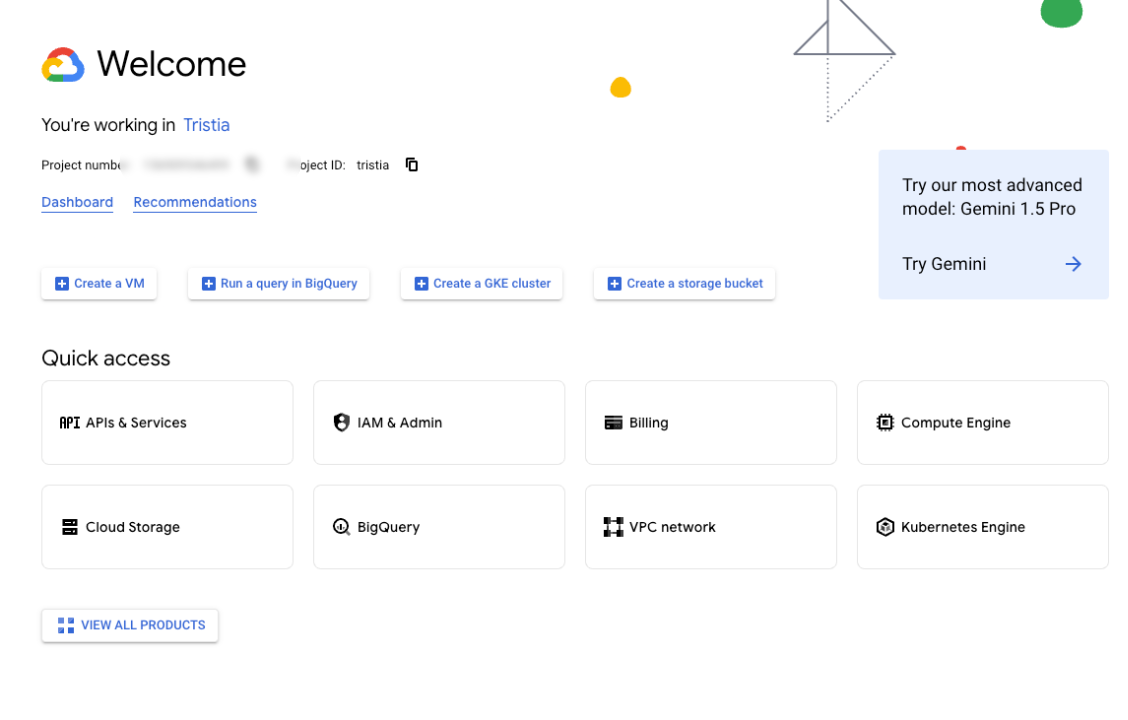
APIs & Services menu.3
Click the 
Credentials menu.4
Then click the 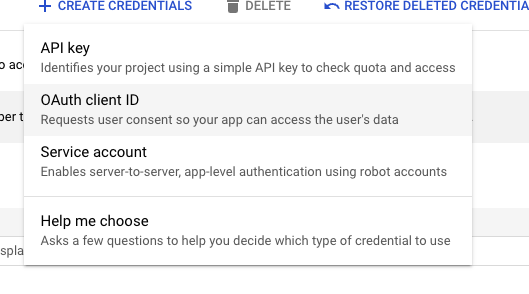
Create Credentials button.- Please select
OAuth client ID
5
But you need to 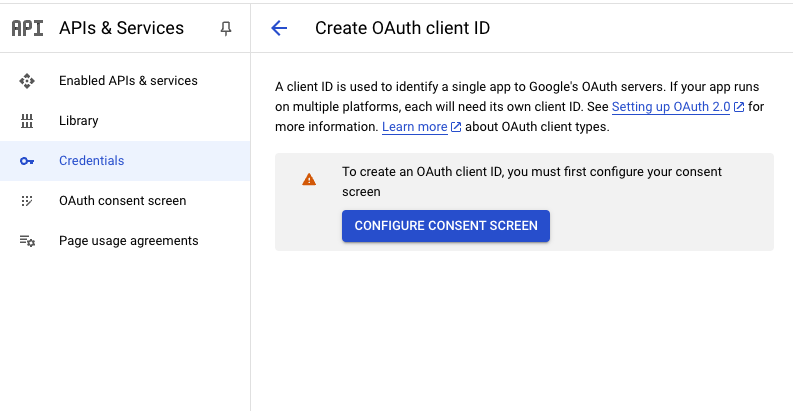
Configure Consent Screen first.6
Create IOS oauth client id.
- Write a name of your app.
- Write your
bundle idin theBundle IDfield. - Click the
Createbutton.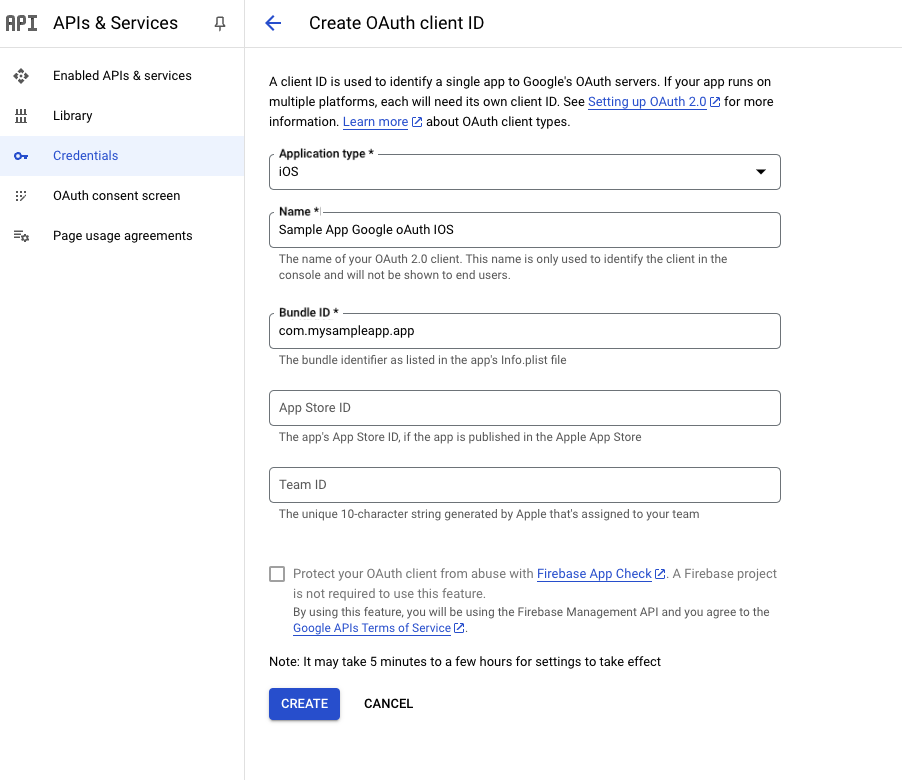
7
Copy Client ID and Paste it to the 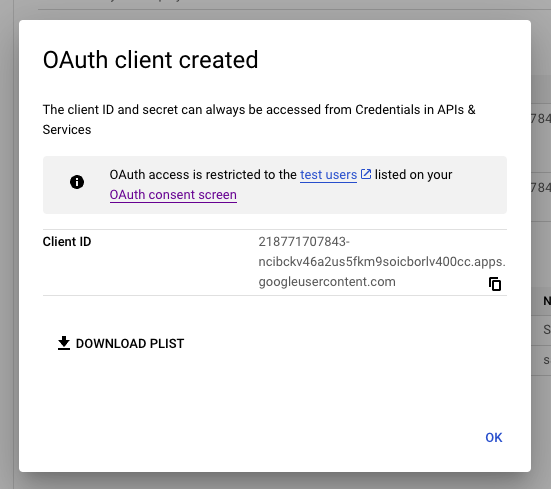
.env file.8
Then you need to select 
IOS oAuth Client first.9
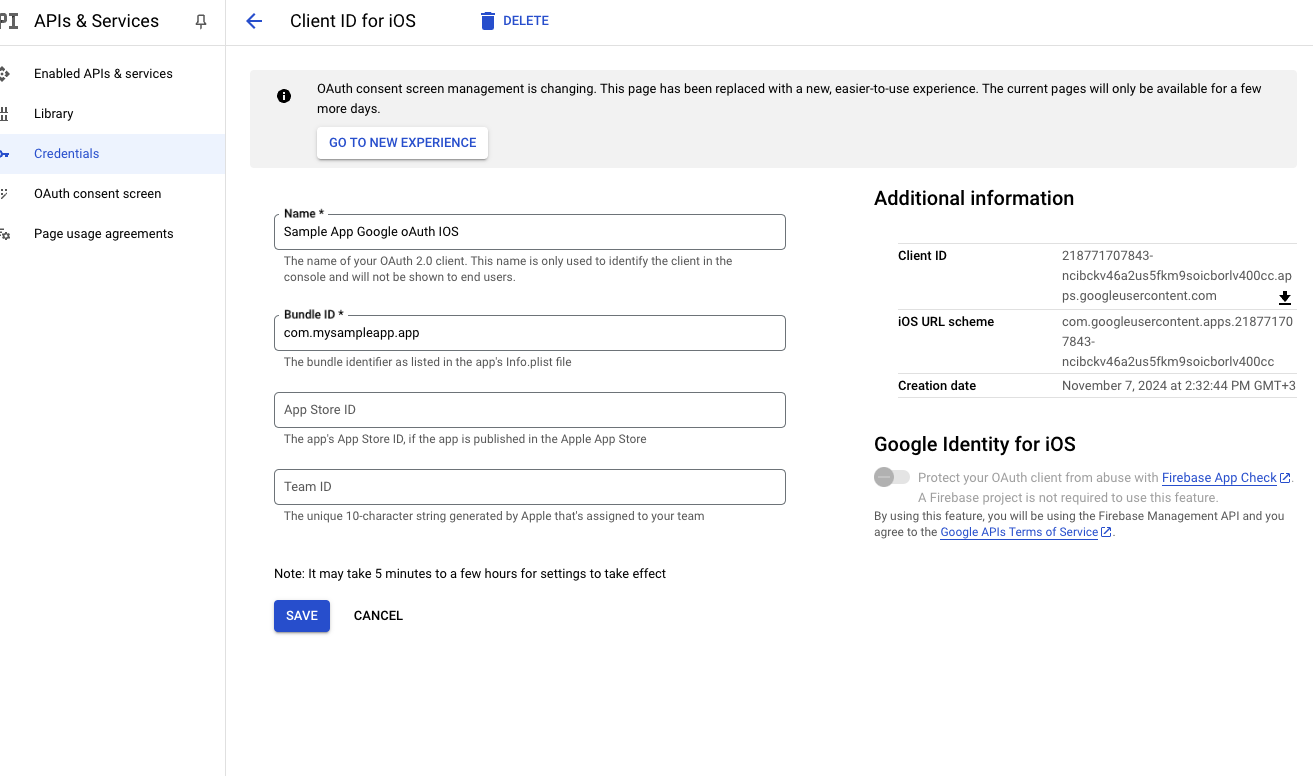
IOS URL Scheme and go to app.json file.- Add here:
You have successfully set up Google OAuth for your Expo React Native IOS Client. 🎉
Google OAuth Web
Please click here for Google OAuth Web.
Google OAuth Android
Please click here for Google OAuth Android.