Sign in with Google on Expo React Native Web Client
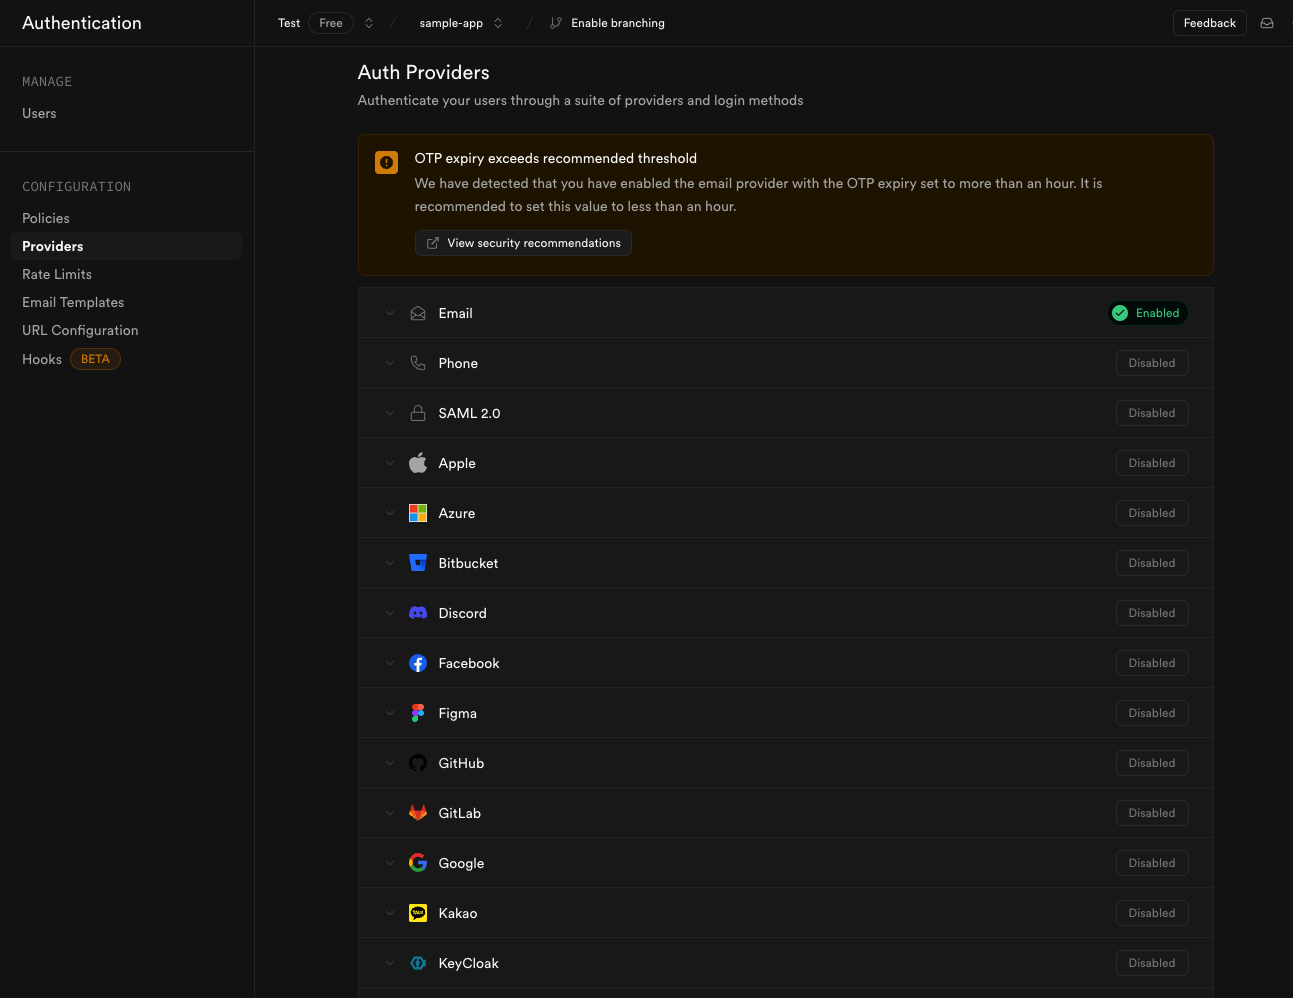
First make sure you have completed the Quickstart page.- We need Supabase to be setup.
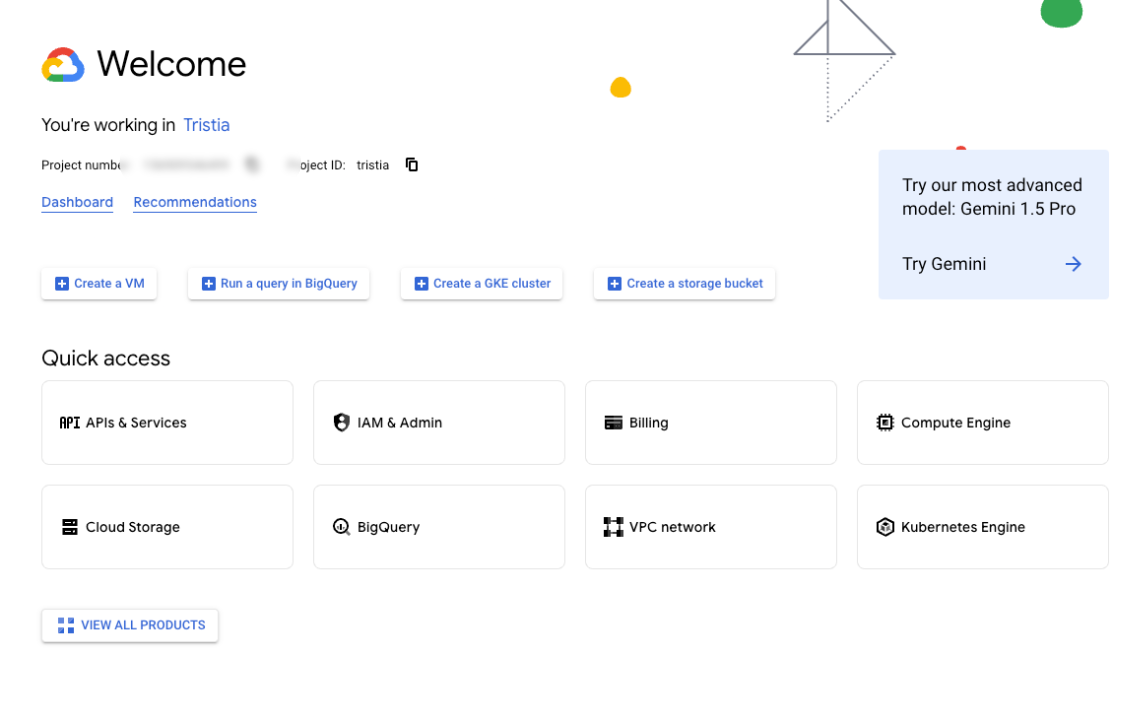
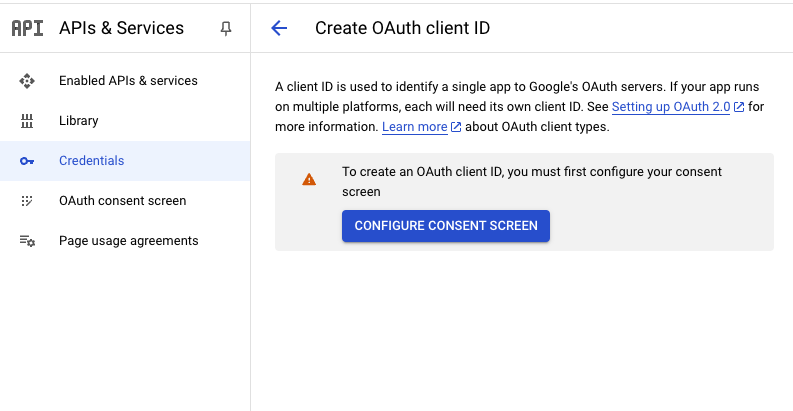
First of all, you need to create a new project in the Google Cloud Console if you don’t have one already.
- We created a new project in RevenueCat Integration Android page. If you want you can follow this first.
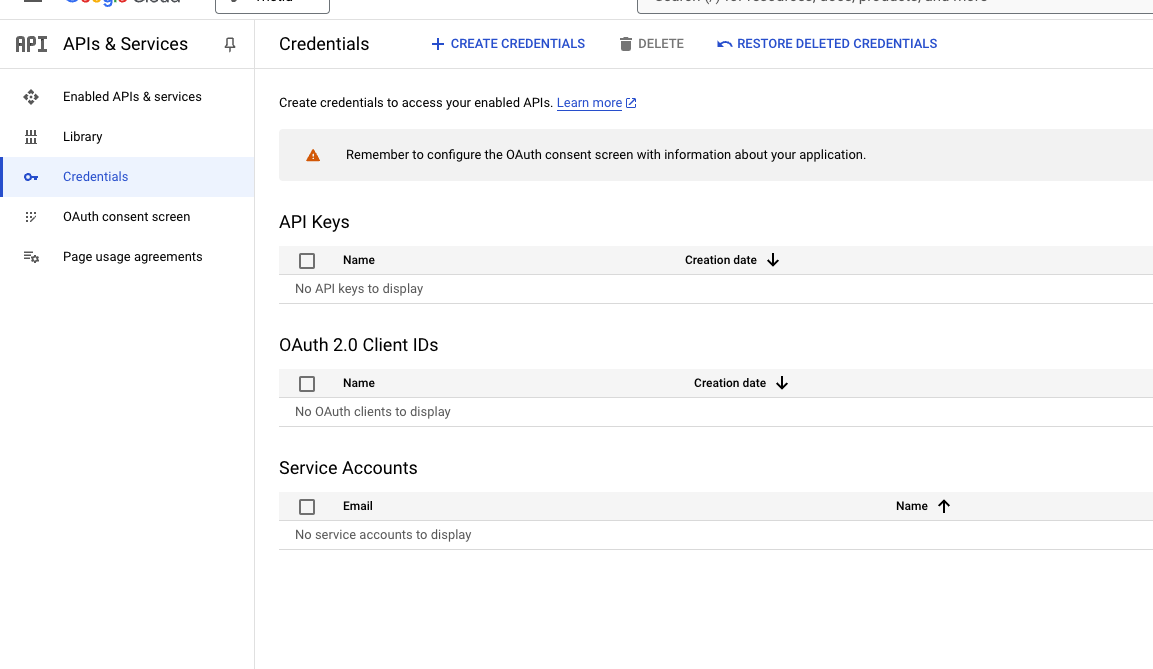
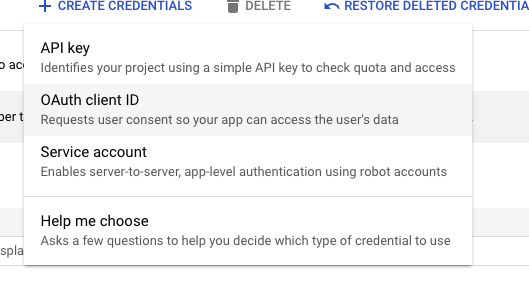
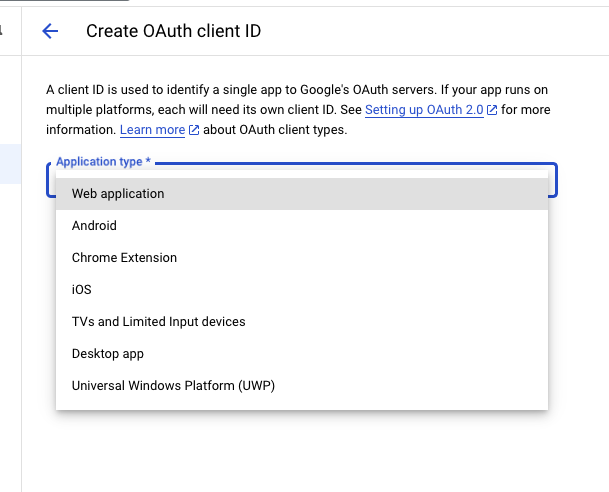
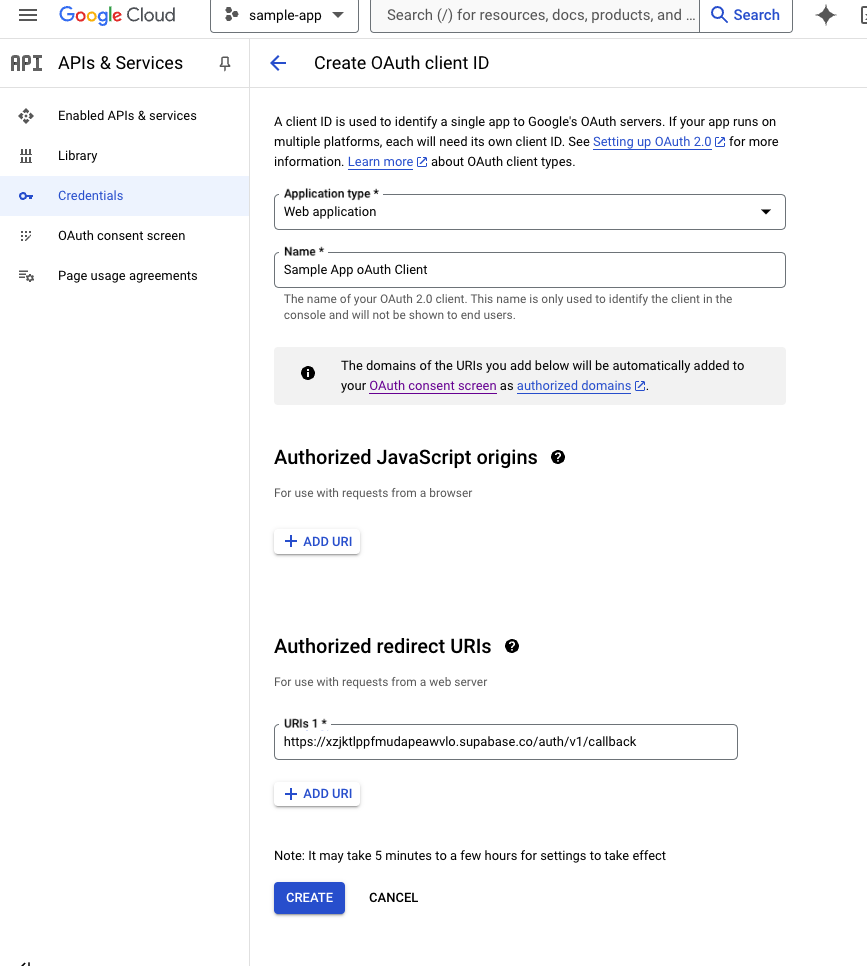
- Then you need to select
Web Applicationfirst. - Fill the form.
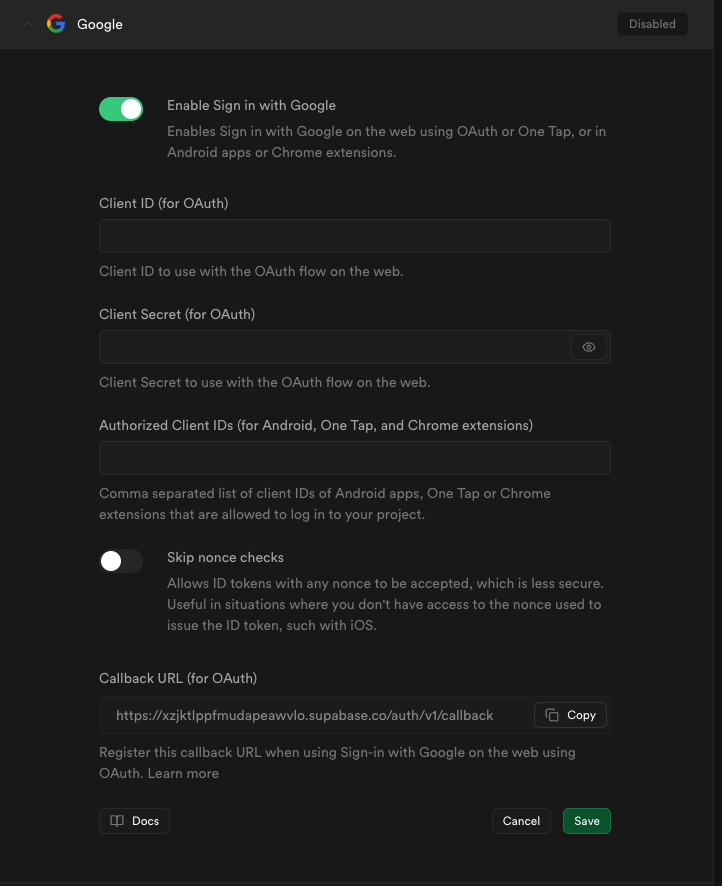
- Paste your
https://<project-ref>.supabase.co/auth/v1/callbackin theAuthorized redirect URIsfield. - Click the
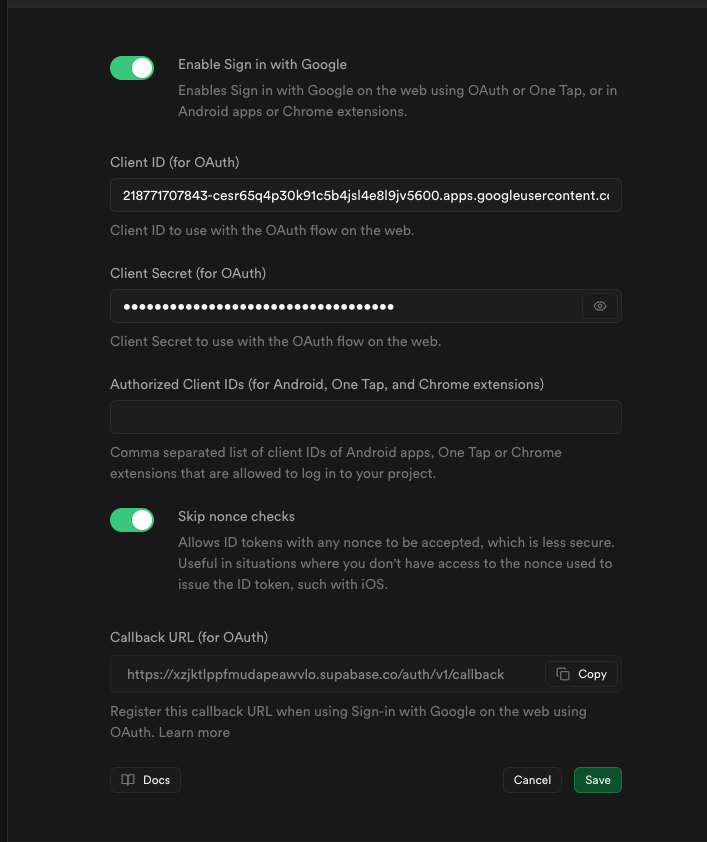
Savebutton.
Google OAuth IOS
Please click here for Google OAuth IOS.
Google OAuth Android
Please click here for Google OAuth Android.